This friendly introduction sets the scene for a practical project. You will learn which method matches common problems: low spots filled with self-leveling concrete, high spots removed by grinding, or sinking slabs lifted with the drill-and-pump technique.
We cover quick diagnosis, the basic tools and safety gear, and when a DIY approach makes sense versus hiring technicians. Expect clear steps for prepping the concrete surface so new finishes or hard flooring sit flat and last longer.
Along the way, you’ll see time and cost trade-offs for each option. Grinding and self-leveling are often doable on weekend projects. Lifting sunken slabs is faster but usually needs pros and special equipment.
By the end of this guide you’ll pick the right process, plan materials, and stage the space for efficient work with fewer surprises.
Before You Start: Safety, tools, and prepping your concrete floor
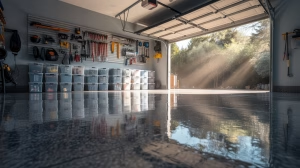
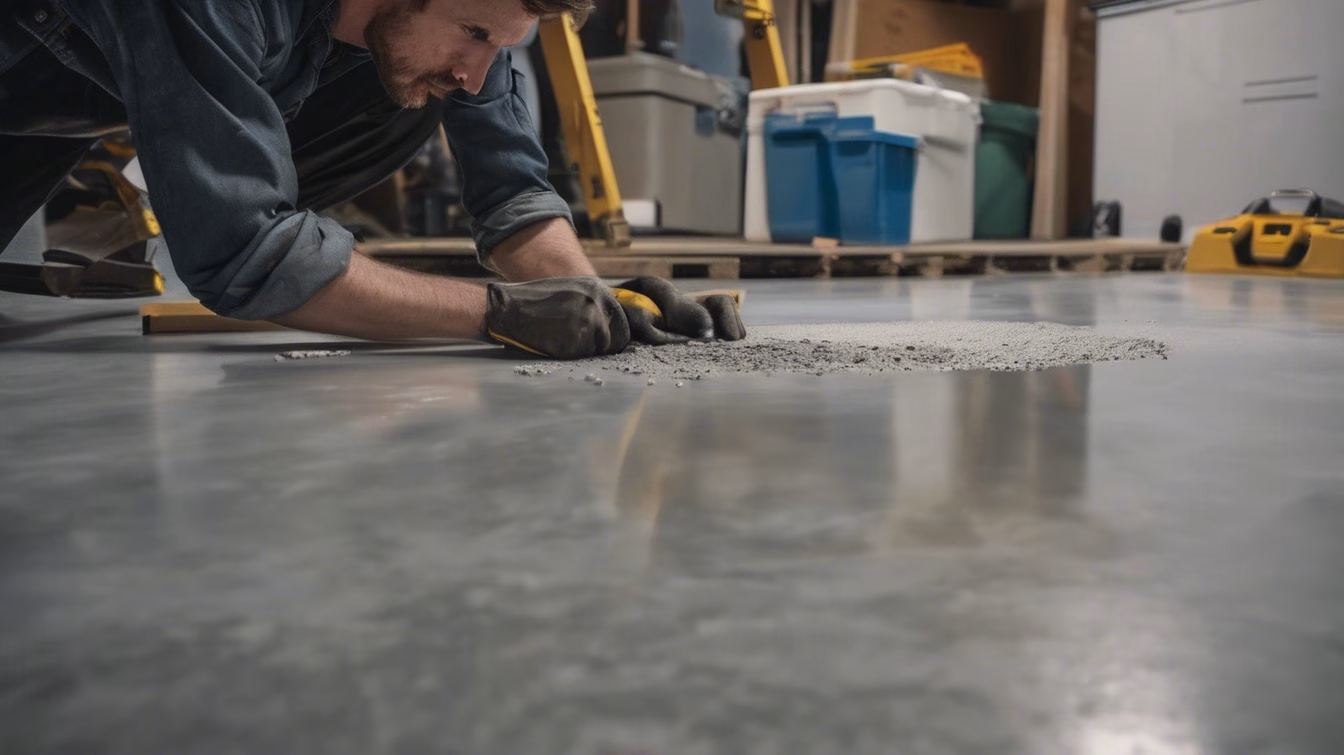
A smart start begins with safety, the right tools, and a dry, clean concrete surface. Wear ANSI-rated eye protection, a NIOSH respirator for silica dust, hearing protection, gloves, and knee pads. Keep the garage space ventilated with fans or open doors.
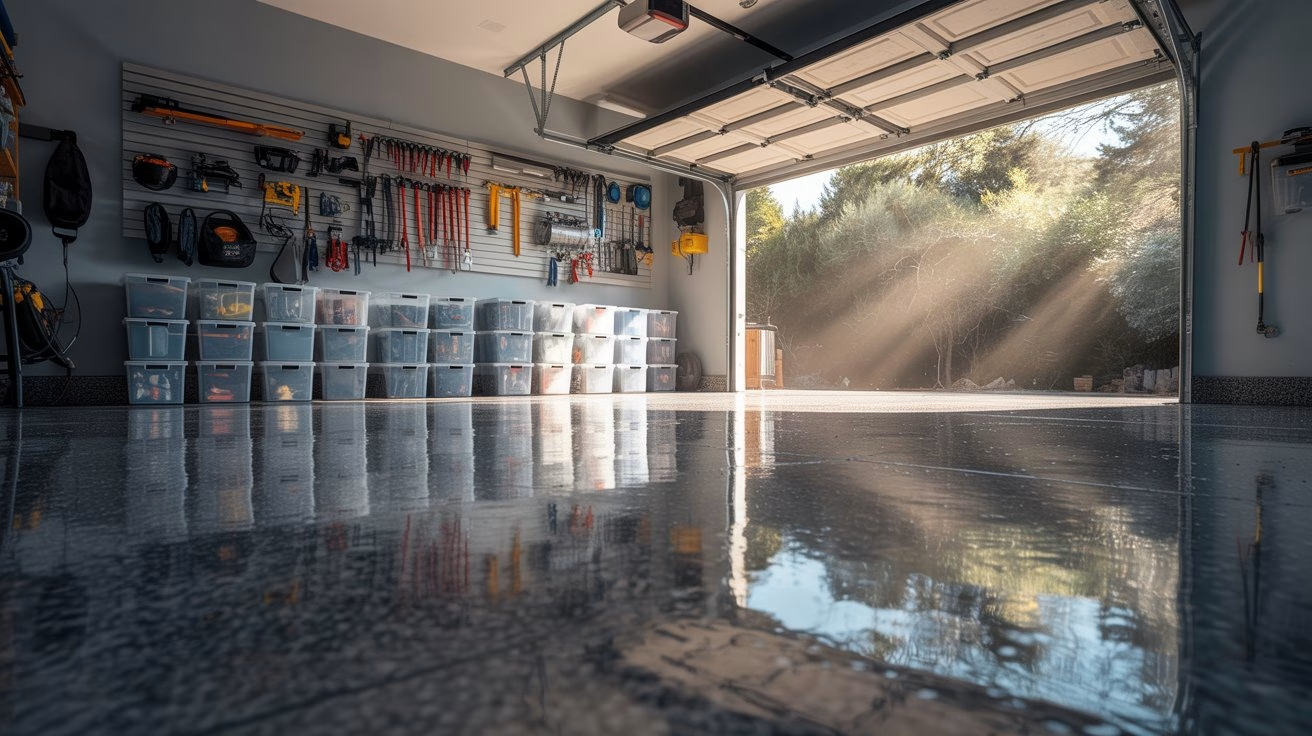
Clear the area by removing cars, shelves, and loose items. Tape plastic over walls and doors and cover drains so grinding debris and wash water don’t clog plumbing. Clean the slab: scrape adhesive, degrease oil spots, sweep, and vacuum. Allow the surface to dry fully before any repair or leveling step.
Map the floor with a straightedge, laser, or string lines to mark low dips, high spots, and cracks. Assemble tools and materials: rent a floor maintainer with a grinding head for broad areas and use an angle grinder for edges and corners. For self-leveling work, have a mixing paddle, buckets, gauge rake, trowel, and the manufacturer’s primer ready.
Check moisture and water entry first; seal active leaks and plan dehumidification if needed. Grinding and applying self-leveler on interior concrete floor areas are common DIY steps. Save slab lifting and major structural repair for professionals.
Diagnose the problem: dips, high spots, or a sinking slab?
Take time to map every dip, hump, and crack so you choose the correct repair path. Use a 6–8 ft straightedge or a laser to find low spots and ridges that will telegraph under hard floors or coatings.
Mark low spots for filling with self-leveling concrete on interior slabs. Note high spots left from finishing passes or old adhesives; these usually need grinding to bring the surface back in plane.
Inspect for signs of settlement: gaps at base plates, uneven thresholds, offset cracks, or puddling that moves toward walls. Those signs often mean the slab is sinking and may need professional drill-and-pump repair.
Decide if issues are local or widespread. Small, isolated dips are good candidates for patching, while stair-step patterns across rooms point to larger slab movement and structural problems.
Track cracks carefully. Hairline, non-moving cracks can be cosmetic. Offset or widening cracks show movement and should not be bridged with self-leveling mixes alone.

Document findings with photos and chalk lines. This helps plan materials, tools, and whether you need pros. Match your flatness needs to the planned finish; tile and rigid floors need tighter tolerances than an epoxy coating.
How to level a garage floor with self-leveling concrete (for dips and low spots)
Self-leveling compounds are a fast way to fill shallow dips so final coverings sit flat. These mixes flow into marked depressions on an interior slab and create an even surface for tile, vinyl, or wood.
Prime clean, sound concrete per the product label. Mask drains and thresholds so the compound stays where you want it. Measure materials precisely and mix with a paddle until smooth and lump-free.
Pour into the lowest areas first and use a gauge rake to move material across the surface. Let the material naturally seek level, then break surface tension with a finishing trowel or smoothing tool.
Feather edges where new meets old concrete and back-roll with a spiked roller if recommended to cut pinholes. Respect limits: don’t use thick builds, outdoors, on settled slabs, or over very large areas.
Allow the compound to cure fully before walking or installing flooring. After cure, check with a straightedge and spot-fill tiny lows so the final concrete floor is truly ready.

Grinding a concrete floor to remove high spots and create an even surface
Removing high spots with a grinder creates a uniform surface ready for finishes. Rent a floor maintainer with a concrete grinding head for broad areas and use an angle grinder with a diamond cup wheel for edges and tight corners.
Mark ridges and make overlapping passes at a steady pace. Attach a shroud and HEPA vacuum to capture dust and keep the surface visible while protecting the garage and adjacent rooms.
Check progress often with a straightedge so you do not overcut. Feather transitions between ground and unground sections to avoid creating new lips and blend the floor wall‑to‑wall.
For coatings, grind to the manufacturer’s recommended profile (CSP). Clean thoroughly so epoxy or polyurethane bonds well. If adhesive remains, take light, repeated passes rather than one aggressive cut to avoid smearing.
Watch for heat glazing; switch grits or a fresh segment when removal slows. After grinding, vacuum and damp‑mop, then let the slab dry before primer or coating. Remember: grinding fixes high spots and prepares concrete floors, but it cannot correct slab settlement.
Leveling a sinking garage floor slab: professional drill-and-pump methods
When a slab sinks, trained crews use targeted lifts that restore support beneath the concrete. Technicians begin by mapping low zones and setting a pattern for where to drill small holes through the slab.
Through those drill holes they pump a specialized compound beneath the concrete. Controlled pressure lifts the slab back to its intended elevation while crews monitor heights with lasers and straightedges.
The process often takes only hours and avoids demolition. After the lift, teams seal the holes, clean the work area, and confirm water now drains toward floor drains instead of pooling near walls.
This method can save up to 70% versus full replacement and preserves nearby finishes like thresholds and base plates. When you see differential heights, recurring puddles, or settling across multiple slabs, professional floor leveling is the right choice.
Finally, expect a brief inspection and any minor finish work. Crews may grind small seams or apply a thin skim of self-leveler so the surface is ready for coatings or new flooring.
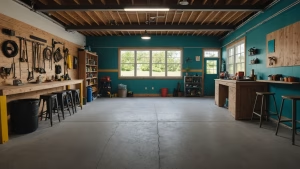
Finishing your leveled garage floor: coatings, durability, and maintenance
A well-chosen finish protects the concrete and keeps the space useful for years. Grinding usually prepares the surface for paint or protective epoxy and polyurethane systems.
Epoxy coatings deliver chemical resistance and toughness for heavy use. Polyurethane topcoats add UV stability and scuff resistance, which helps color and gloss last longer.
Before coating, repair cracks that aren’t structural with compatible fillers. Honor control joints so movement won’t telegraph through the finish.
Verify flatness if you plan rigid flooring. Follow the flooring maker’s installation and underlayment guidelines so seams stay tight and the material performs well.
Prep matters: a correct surface profile and thorough cleaning improve adhesion and finish quality. Plan around cure time and expected temperature and humidity so the slab supports the coating on schedule.
Think about use when choosing texture and flakes for slip resistance. Maintain the finish with gentle cleaners, prompt oil cleanup, and periodic inspections to spot small wear before it grows.
If you prefer raw concrete, polish with finer abrasives then seal. Good drainage after any slab lift preserves coatings and keeps the space cleaner and safer over time.
Conclusion
Use this closing summary to match what you found with the best method and plan next steps for the project. Three clear paths exist: self‑leveling concrete for shallow lows, grinding for ridges and prep, and professional drill‑and‑pump work when slabs have dropped. DIY works well for grinding and patches; call contractors for structural lifts.
List tools, material quantities, and a realistic weekend timeline before you start. Confirm water now drains toward floor drains after any lift and repair cracks and primers so finishes bond and last.
Document before‑and‑after elevations, keep product data handy, and combine methods when needed. With the right choices, your level garage floor will be safer, cleaner, and ready for years of use.