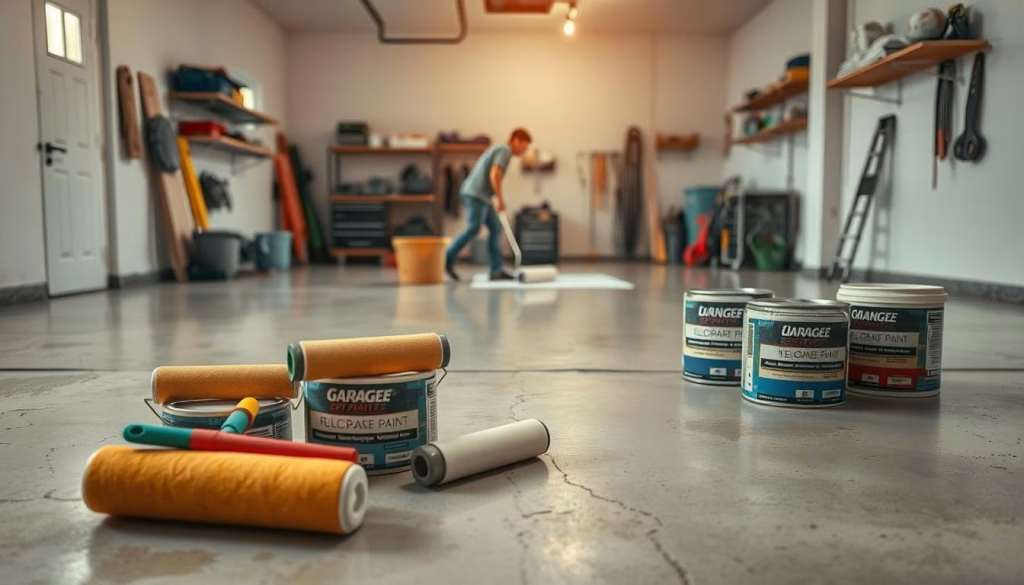


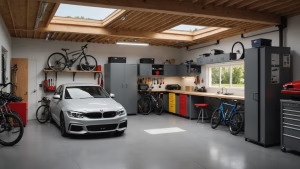
The garage is often the “junk drawer” of the home—a catch-all for half-finished DIY projects, seasonal decor, and sports equipment that hasn’t seen the light

As the traditional workplace continues to shift toward permanent remote and hybrid models in 2026, the home office has evolved from a “nice-to-have” luxury into
The new year always brings a fresh wave of motivation to declutter, reorganize, and finally tackle those home improvement projects we’ve been putting off. If
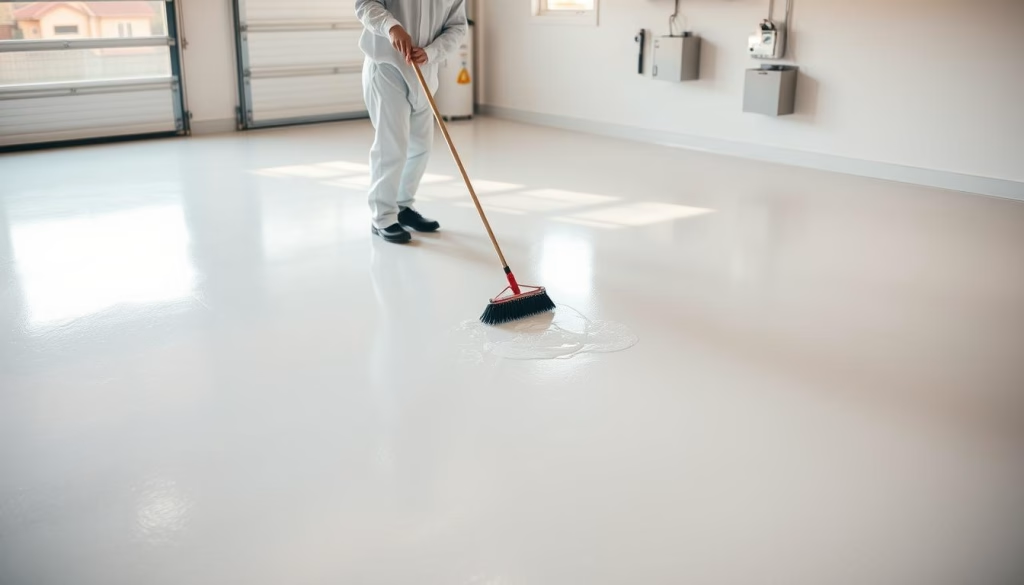
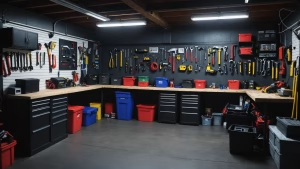
The American garage is one of the largest rooms in the house, and in most homes, it’s the one with the worst return on investment.
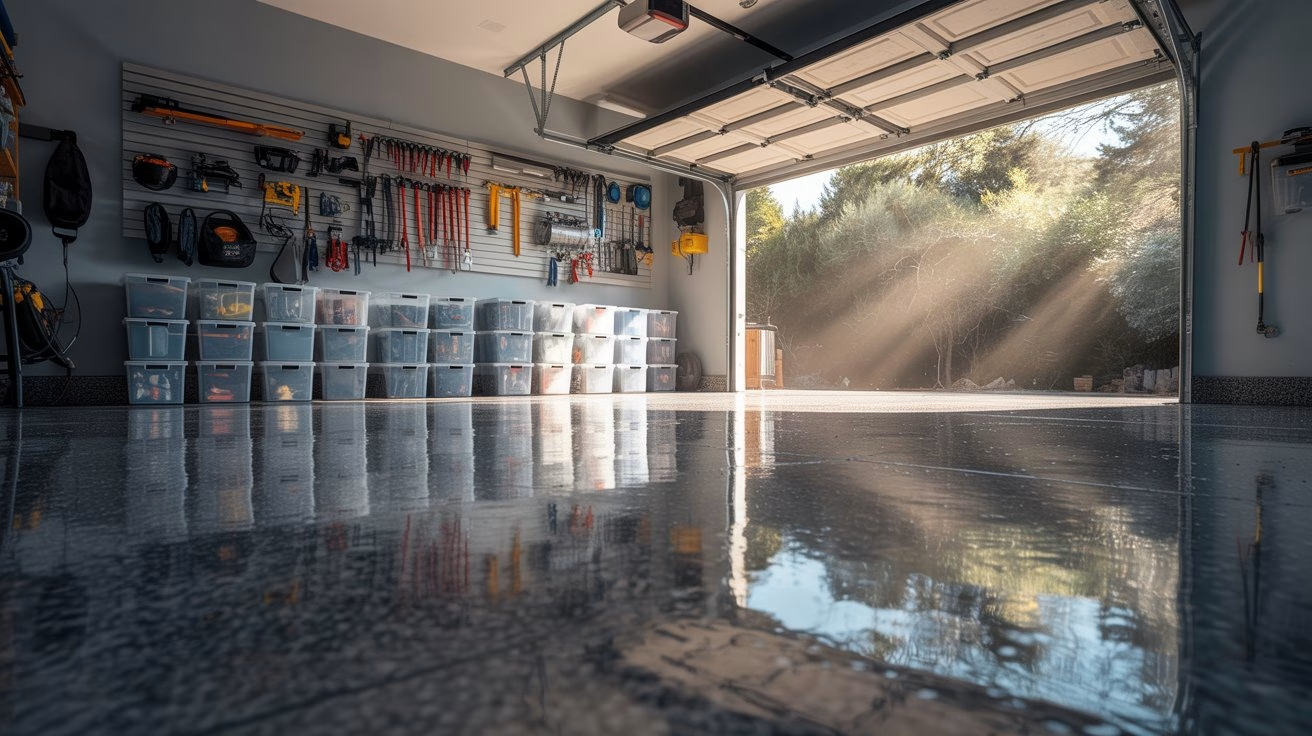
For most of us, the garage is the most neglected “room” in the house. It’s a space of bare drywall, scuffed beige paint, or cold,
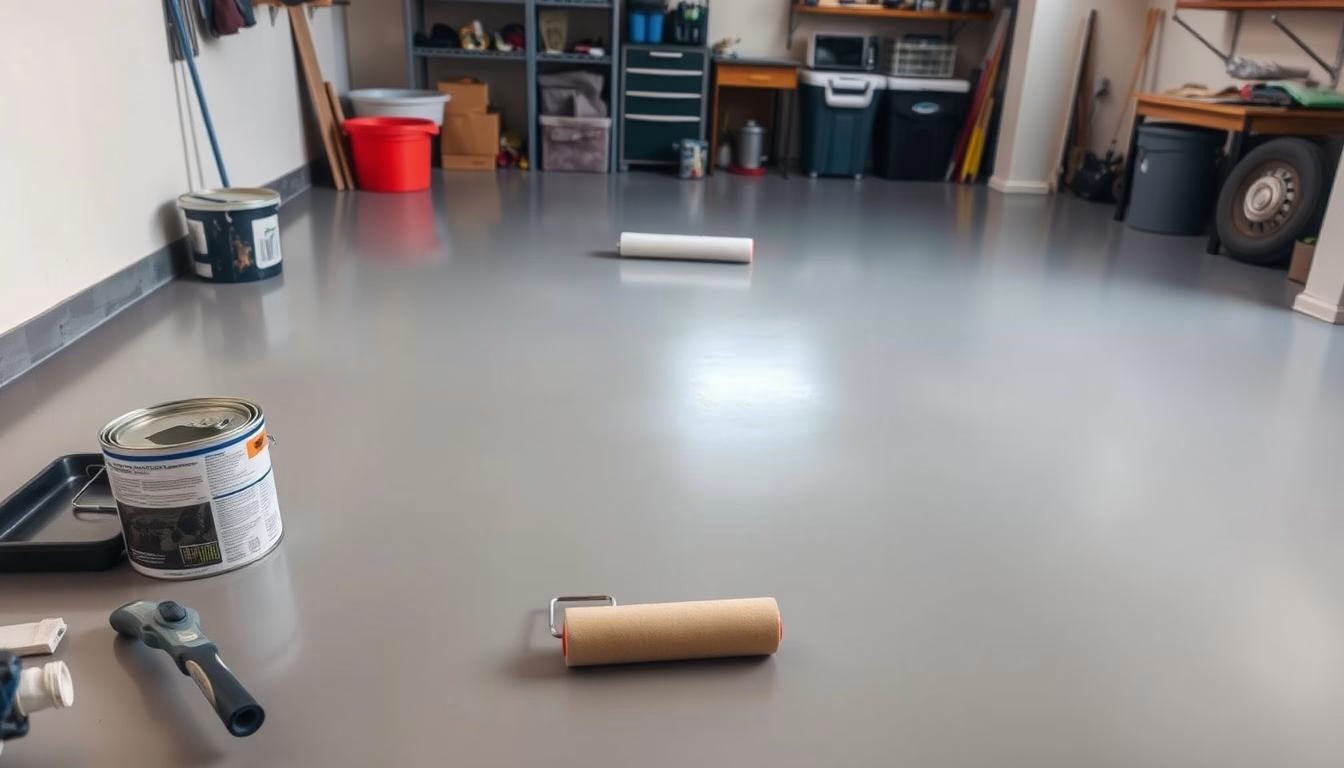
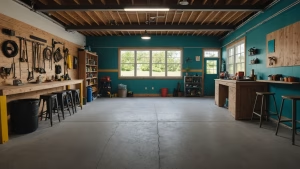
For many homeowners, the garage is the final frontier. It’s the last un-renovated space, a catch-all for clutter, and a dumping ground for items that
The garage is often the “junk drawer” of the home—a catch-all for half-finished DIY projects, seasonal decor, and sports equipment

As the traditional workplace continues to shift toward permanent remote and hybrid models in 2026, the home office has evolved