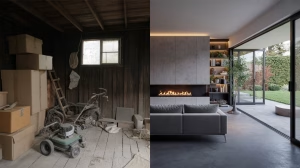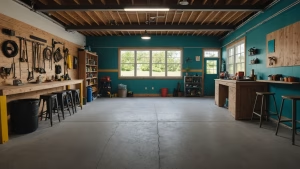
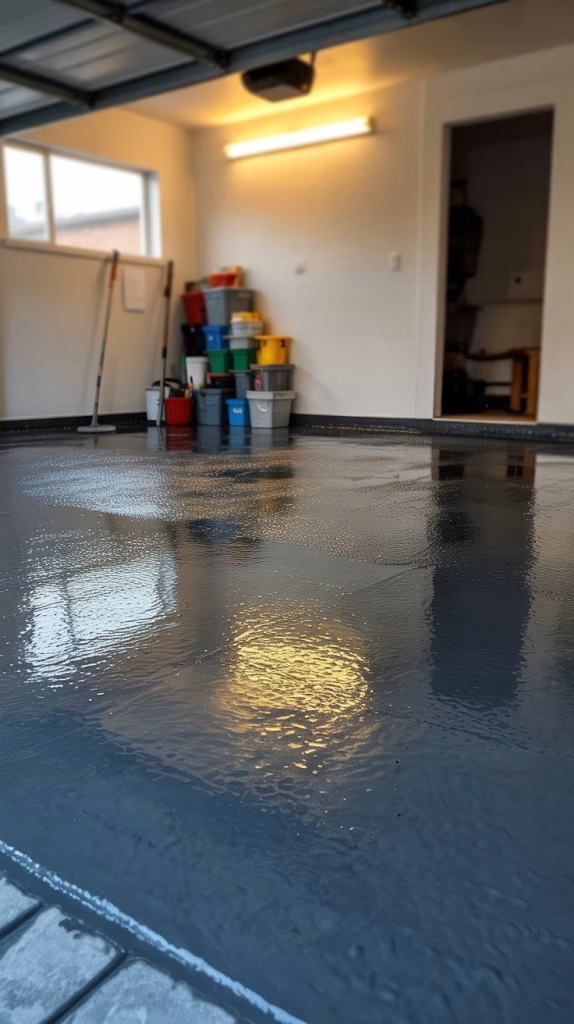
An ordinary concrete garage floor, with its dusty, stained, and often cracked surface, is more than just a functional space; it’s a blank canvas waiting for a transformation. For too long, the garage has been relegated to a utilitarian role, a place for storage and vehicle parking. But as homeowners increasingly view their garages as an extension of their living space—be it a workshop, a home gym, or a display area for a prized vehicle—the condition of the floor has become a focal point for improvement.
The problem is a familiar one: a floor marred by oil leaks, tire marks, and persistent dust that seems to cling to everything. This not only detracts from the space’s appearance but also makes it difficult to keep clean and can even compromise safety with its uneven or slick surfaces. The solution lies in a thoughtful and deliberate approach to resurfacing. This comprehensive guide will walk you through the five essential steps to transform your garage floor from dingy to dynamic, exploring a range of popular and effective flooring options along the way.
Understanding Your Options: A Comparative Look at Garage Flooring
Before you begin any project, it’s crucial to select the right material for your needs, budget, and desired outcome. The market offers a variety of solutions, each with its own set of advantages and disadvantages. We will focus on the three most popular and effective options: epoxy coatings, polyaspartic coatings, and interlocking tiles.
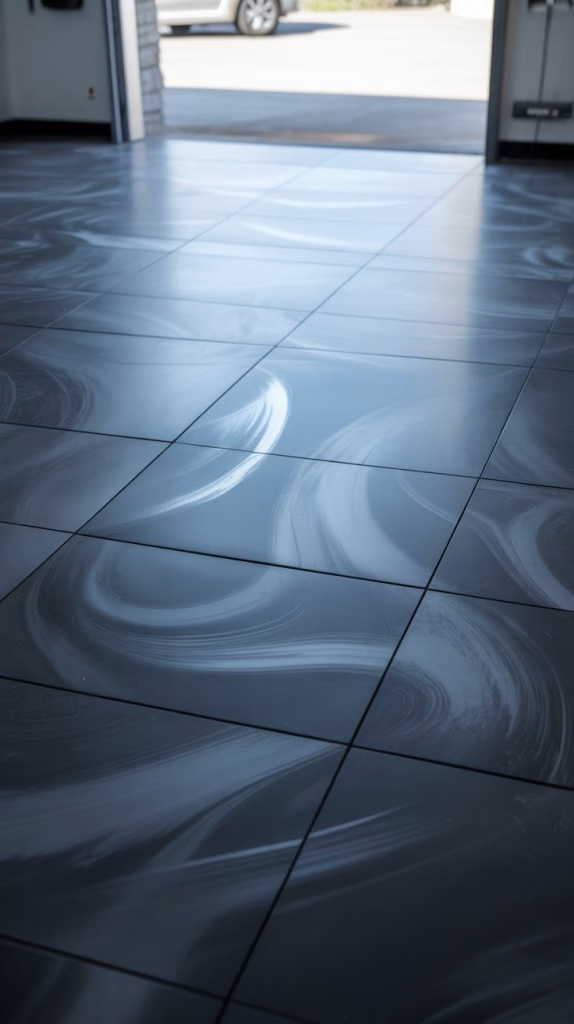
1. Epoxy Coatings
Epoxy is a two-part resin and hardener system that creates a durable, non-porous surface. It is the most common choice for DIY enthusiasts and professionals alike, offering a high-gloss, showroom-quality finish.
- Pros:
- Durability and Resistance: Epoxy creates a very hard, robust surface that is highly resistant to stains, chemicals (including oil, gasoline, and brake fluid), and abrasions. It can withstand heavy vehicle traffic and dropped tools without chipping or scratching easily.
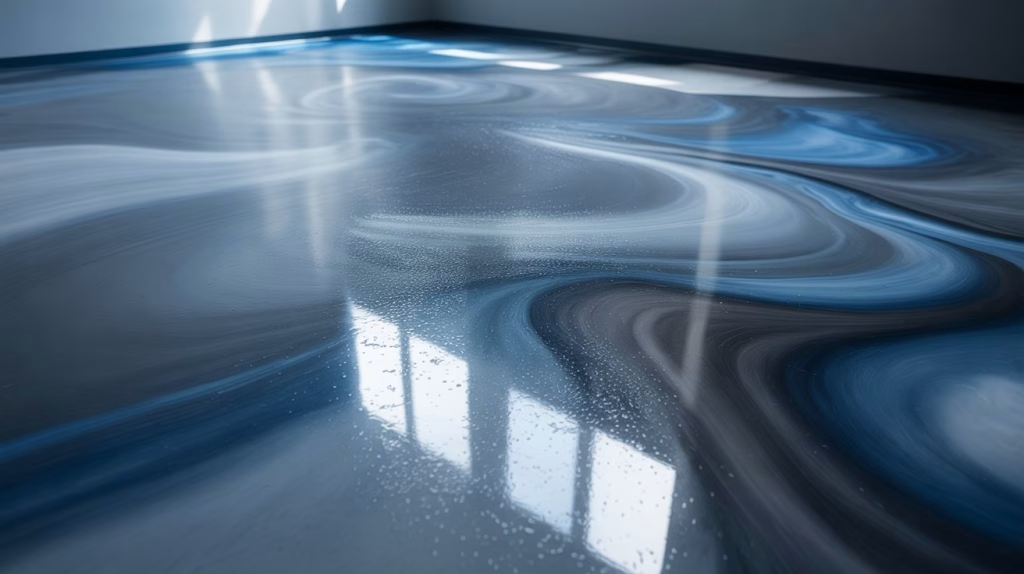
- Aesthetic Versatility: Epoxy comes in a wide range of colors and can be enhanced with decorative flakes, quartz aggregates, or metallic pigments to create a customized look. The glossy finish brightens the space by reflecting light.
- Relatively Low Cost: Compared to other high-performance coatings, DIY epoxy kits are quite affordable. Professional installation is also a cost-effective option for the level of protection and finish provided.
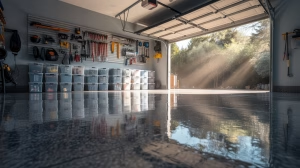
- Seamless Surface: When applied correctly, epoxy creates a seamless, monolithic surface that prevents dust and grime from accumulating in cracks and grout lines, making it easy to clean.
- Cons:
- Sensitive Application Requirements: Epoxy is highly sensitive to temperature and humidity during application. The floor must be meticulously prepared—cleaned, degreased, and etched—to ensure a strong bond. Any moisture or contaminants can lead to “fisheyes,” bubbles, or peeling.
- Long Curing Time: A significant drawback of traditional epoxy is its long curing time. The floor may be ready for foot traffic in 24 hours, but it often takes 3 to 7 days to fully cure before it can withstand vehicle traffic.
- UV Instability: Many epoxies, particularly lower-quality ones, are not UV stable and can yellow or chalk when exposed to sunlight, making them a less ideal choice for garages with windows or those that are left open frequently.
- Potential for Slippery Surface: The high-gloss finish can become very slippery when wet. Anti-slip additives can be mixed into the topcoat to mitigate this risk.
- Cost Estimates:
- DIY Kit: $2 to $5 per square foot (materials only).
- Professional Installation: $3 to $12 per square foot (materials and labor).
- Note: Cost varies based on the type of epoxy (water-based, solvent-based, or 100% solids) and the complexity of the finish.
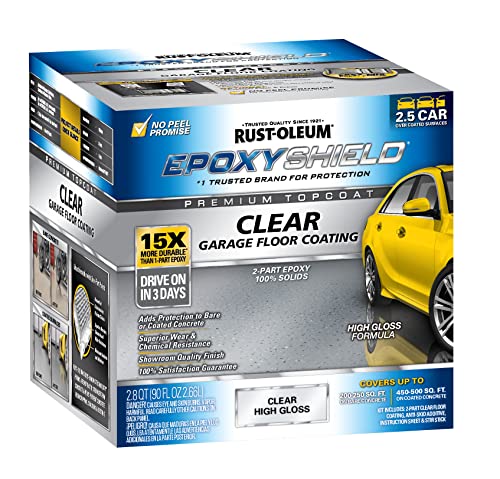
The Rust-Oleum 292514 EpoxyShield Premium Clear Garage Floor Coating Kit is an exceptional choice for enhancing and protecting your interior concrete surfaces. Designed specifically for garages, basements, and workshops, this kit features a two-component, 100% solids epoxy coating that delivers robust adhesion, extraordinary chemical resistance, and a high-gloss finish that resists hot tire pick-up and cracking. Its low-odor, low-VOC formula ensures a convenient application without overwhelming fumes. Complete with a burst pouch technology, anti-skid additive, and comprehensive instructions, the EpoxyShield kit simplifies the process of adding a durable, glossy layer to your floors, covering up to 500 square feet per kit. Ideal for both coated and bare surfaces, it transforms your garage floor into a showroom-quality surface that is as functional as it is visually appealing.
2. Polyaspartic Coatings
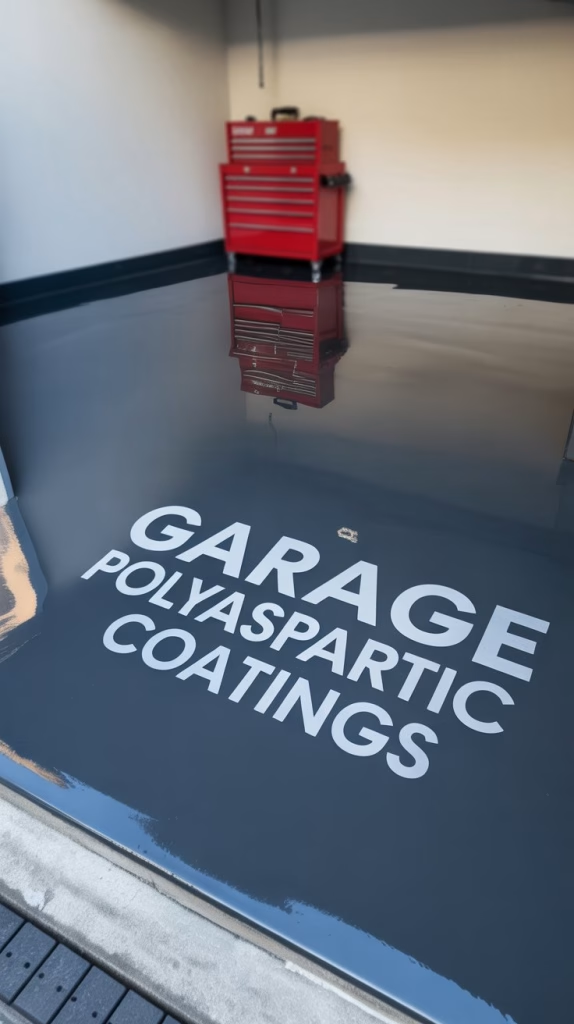
Polyaspartic is a newer, high-performance coating that is often considered an upgrade from epoxy. It is a type of polyurea and offers superior performance characteristics, though it typically requires professional application due to its fast-curing nature.
- Pros:
- Exceptional Durability and Flexibility: Polyaspartic is more flexible than epoxy, allowing it to withstand shifts in temperature without cracking or delaminating. It is highly resistant to scratches, abrasions, and chemicals.
- UV Stability: Unlike most epoxies, polyaspartic is inherently UV stable and will not yellow or fade over time, making it perfect for sun-drenched garages.
- Rapid Curing Time: This is polyaspartic’s standout feature. It can cure to a full-use state in a single day, often within a few hours. This means less downtime for your garage.
- Wide Temperature Application Range: Polyaspartic can be applied in a much broader range of temperatures, from well below freezing to high heat, which makes it a viable option year-round.
- Cons:
- High Cost: Polyaspartic is generally more expensive than epoxy, making it a more significant investment.
- Requires Professional Expertise: Its extremely fast curing time makes it challenging for a DIY application. It hardens so quickly that there is little room for error, and an improper application can lead to a substandard finish.
- Limited DIY Availability: High-quality polyaspartic kits are not commonly found at major retail stores and are primarily sold to certified professionals.
- Cost Estimates:
- Professional Installation: $7 to $10 per square foot (materials and labor).
3. Interlocking Tiles
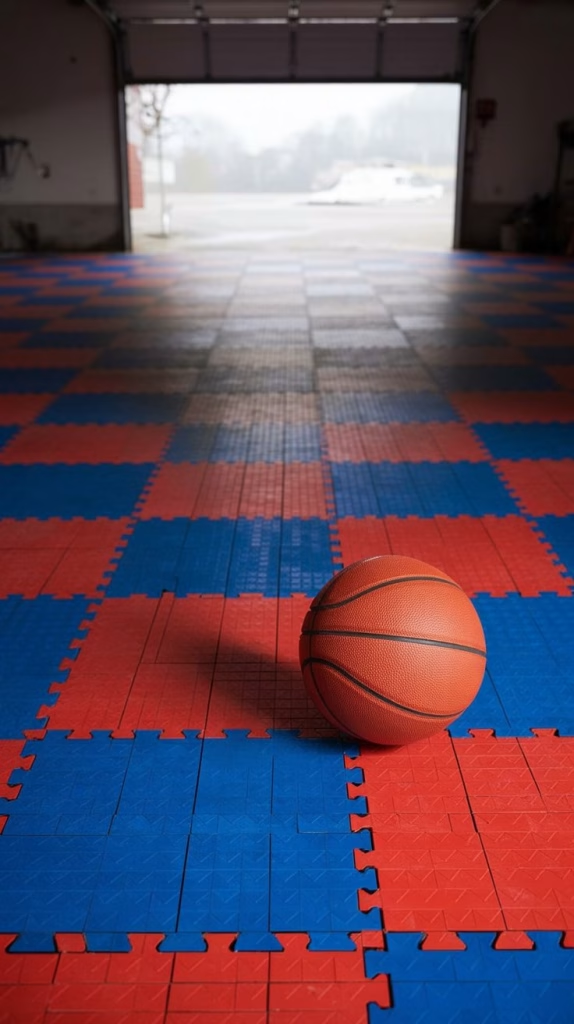
Garage floor tiles are a modular solution that can be installed quickly and with minimal preparation. They are typically made from rigid polypropylene or flexible PVC.
- Pros:
- Effortless DIY Installation: Tiles simply snap together, requiring no special tools or adhesives. This makes them an ideal choice for homeowners who want to complete the project themselves without the complexity of coatings.
- Minimal Surface Preparation: The concrete floor does not need to be as perfectly prepped as it would for a coating. Sweeping and vacuuming are often sufficient.
- Easy to Replace and Repair: If a tile becomes damaged, you can simply pop it out and replace it, a significant advantage over a monolithic coating that would require a patch or a full re-application.
- Moisture Management: Perforated or “flow-through” tiles allow water, snow, and spills to drain below the surface, keeping the top of the floor dry and safe.
- Customization: Tiles come in a vast array of colors, patterns, and textures, allowing for a high degree of personalization.
- Cons:
- Cost: Quality tiles can be more expensive upfront than a DIY epoxy kit, although they are often comparable to professionally installed coatings.
- Sub-Surface Cleaning: The spaces between and underneath the tiles can trap dust, dirt, and even liquids, requiring periodic cleaning by lifting sections of the floor.
- Risk of Shifting: While designed to lock together, tiles can shift under heavy rolling loads or with turning tires, especially if not installed wall-to-wall with the proper spacing for thermal expansion.
- Noise: Some rigid tiles can create a hollow, rattling sound when walked on or driven over.
- Cost Estimates:
- Materials Only: $2.50 to $5 per square foot.
| Feature | Epoxy Coating | Polyaspartic Coating | Interlocking Tiles |
| Durability | Excellent | Superior | Very Good |
| UV Resistance | Poor to Fair | Excellent | Excellent |
| Curing Time | 3-7 Days | 1 Day (or less) | Instant |
| DIY Feasibility | High | Low | High |
| Aesthetic | Seamless, High-Gloss | Seamless, High-Gloss | Modular, Varied |
| Cost | Low to Medium | High | Medium to High |
| Maintenance | Easy to clean | Easy to clean | Requires periodic deep cleaning |
Export to Sheets
The 5-Step DIY Guide to an Epoxy Garage Floor Transformation
If you’ve decided that a DIY epoxy coating is the right choice for you, following these steps meticulously will be the key to a successful, long-lasting finish. Remember, the quality of the finished product is 80% preparation and 20% application.
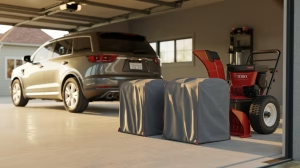
Step 1: Empty and Thoroughly Clean the Garage
This is the most time-consuming but most crucial step. You cannot apply any coating over a dirty, dusty, or oily surface.
- Empty Everything: Remove all items from the garage. This includes vehicles, tools, storage bins, shelving units, and any wall-mounted items that might be in your way.
- Sweep and Scrape: Use a stiff-bristled broom and a heavy-duty scraper or putty knife to remove all loose debris, dirt, and any caked-on residue like paint spills or dried mud.
- Degrease and Clean: Apply a quality concrete degreaser or cleaner to the entire floor, paying special attention to oil and grease stains. Use a hard-bristled scrub brush to work the cleaner into the concrete, then rinse thoroughly with a pressure washer or a strong hose. It’s vital to remove all cleaner residue to prevent it from interfering with the epoxy’s bond.
- Dry Completely: The floor must be bone dry before you can proceed. This can take anywhere from 24 to 72 hours, depending on the climate and humidity. Use fans or a dehumidifier to speed up the process. A simple “plastic sheet test” can confirm dryness: tape a 2-foot by 2-foot square of plastic sheeting to the floor and leave it for 24 hours. If condensation forms underneath, the floor is still too wet.
Step 2: Repair and Prepare the Concrete
The Concrete Sealer - 9500 is a powerful industrial-grade solution designed to enhance and protect a variety of surfaces such as stone, patios, driveways, and brickwork. This water-based silane/siloxane formula penetrates deeply to repel moisture and salt, providing robust protection against harsh environmental conditions. One gallon of this ready-to-use product covers between 150-400 square feet with a single coat, making it a versatile choice for both small and large projects. Its clear, natural finish won’t leave a visible surface film, retaining the original aesthetic of your surfaces while significantly enhancing their durability. DOT-approved and easy to apply, the BEEST CS-9500 is engineered for long-term protection, with an efficacy extending from 5 to 10 years, marking it as a reliable choice for both residential and commercial applications.

A perfect finish requires a smooth, structurally sound canvas.
- Fill Cracks and Holes: Use a two-part epoxy crack filler or a concrete patching compound to fill any cracks or divots in the floor. Follow the manufacturer’s instructions for mixing and application. Use a trowel to smooth the repair flush with the surrounding concrete.
- Grind or Etch the Surface: This is the most critical step for proper adhesion. The goal is to create a porous, sandpaper-like surface that the epoxy can physically grip.
- Diamond Grinding (Recommended): This is the professional method. You can rent a walk-behind concrete grinder from a home improvement store or rental center. Grinding the surface is the most effective way to remove old sealers, weak top layers of concrete (laitance), and all contaminants. It creates a perfect profile for the epoxy to bond with.
- Acid Etching: Many DIY kits come with an acid etching solution (usually muriatic acid or citric acid). Mix the solution according to instructions and apply it with a plastic watering can. The acid will bubble and fizz, opening up the pores of the concrete. After a short period, rinse it thoroughly and let the floor dry completely. Acid etching is less effective than grinding but can work if the floor is in good condition and has never been sealed.
Step 3: Mask and Prepare Your Workspace
Protect the surrounding areas and get your tools ready.
- Mask the Perimeter: Use painter’s tape and plastic sheeting to protect the bottom of your garage walls, the garage door track, and the area just outside the garage door. This ensures a clean, professional-looking line.
- Layout Your Tools: Have all your supplies ready to go. This includes your epoxy kit (Part A and Part B), a drill with a mixing paddle, a 9-inch roller with a chemical-resistant roller cover, a smaller brush for cutting in edges, a paint tray, and any decorative flakes or anti-slip additives you plan to use.
- Ventilate: Open your garage door and any windows to ensure proper ventilation.
Step 4: Mix and Apply the Epoxy
Work in a controlled, systematic manner.
- Mix the Epoxy: Follow the manufacturer’s instructions precisely. This typically involves combining Part A (the resin) and Part B (the hardener) and mixing them with a drill and paddle for a specific amount of time (usually 2-3 minutes). Do not overmix, as this can introduce air bubbles. Once mixed, you have a limited “pot life” (the time before the mixture hardens), so work quickly.
- Cut in the Edges: Use your smaller brush to apply a strip of epoxy along the perimeter of the garage floor, where the roller cannot reach.
- Roll the Floor: Pour the mixed epoxy directly onto the floor in a ribbon-like pattern. Use your roller to spread the epoxy evenly, working from the back of the garage toward the front. Use smooth, overlapping strokes to ensure uniform coverage. Avoid overworking the material.
- Add Decorative Flakes (Optional): If you are using decorative flakes, sprinkle them into the wet epoxy as you go. For a natural, uniform look, toss the flakes lightly into the air and let them fall onto the surface. Don’t throw them directly at the floor, as this will result in clumps.
- Finish and Wait: Once the entire floor is coated, back out of the garage and close the door. Do not walk on the wet surface.
Step 5: Curing and Final Touches
Patience is key to a durable finish.
- Allow to Cure: Leave the garage door closed and allow the epoxy to cure according to the manufacturer’s instructions.
- Foot Traffic: Usually ready in 24 hours.
- Light Traffic: Usually ready in 48 hours.
- Heavy Vehicle Traffic: Typically requires 72 hours to 7 days.
- Topcoat (Optional but Recommended): Some systems include a clear topcoat, or you can purchase one separately. A topcoat, especially one with anti-slip additives, adds an extra layer of protection, gloss, and safety.
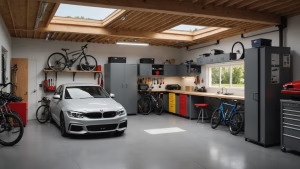
- Final Inspection: Once fully cured, you can reintroduce your items. Take a moment to admire your hard work and enjoy the new, vibrant look of your transformed garage floor.
The Value Proposition: More Than Just a Pretty Floor
A garage floor transformation is about more than aesthetics. It solves practical problems and provides lasting benefits.
Enhanced Functionality and Cleanliness
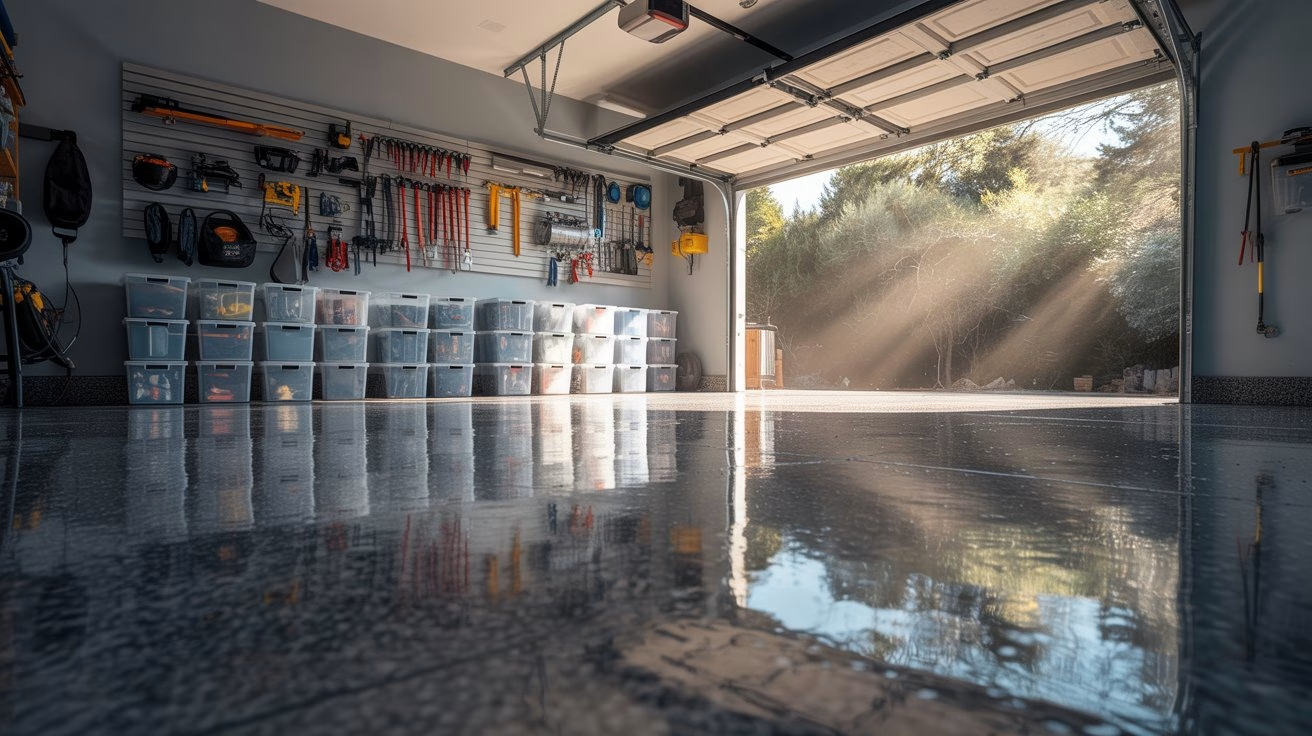
A coated or tiled floor is a game-changer for cleanliness. The seamless, non-porous surface of epoxy or polyaspartic makes it simple to sweep away dust and dirt. Oil spills, brake fluid, and other chemicals can be wiped up with a simple paper towel, preventing them from soaking into the concrete and leaving permanent stains. This low-maintenance quality transforms a messy, dusty space into a clean, functional extension of your home.
Increased Home Value and Curb Appeal
A clean, well-maintained garage with a dynamic floor adds significant value to your home. It creates a positive first impression for potential buyers and signals that the home has been meticulously cared for. For a relatively low investment, you can dramatically improve the look and feel of your property.
Improved Safety
Bare concrete can be uneven and prone to dust, which becomes slick when wet. By applying a non-slip coating or using textured tiles, you reduce the risk of slips and falls, creating a safer environment for your family.
The transformation of your garage floor from a neglected slab to a dynamic, clean, and durable surface is a project that delivers tangible rewards. It addresses a common household problem with a range of solutions that fit different budgets and needs. Whether you choose the rugged beauty of a DIY epoxy application or the modular convenience of interlocking tiles, you are not just changing the floor—you are fundamentally changing the way you use and appreciate your garage.