Affiliate Disclaimer – Some links in this post may contain affiliate links to websites that we are a part of their affiliate program. This means that if you purchase something after clicking on the link we will get a commission. You are never obligated to purchase anything, we by law just must inform you of this. Any purchase made does help us maintain this website and help grow it.
A garage door opener contains a small radio receiver that listens for a code sent by your remote. Modern remotes use rolling‑code or hopping‑code technology for security, meaning the code changes with each use. To pair the remote with the opener, you must put the opener into learning mode, then send the remote’s code while the opener is listening. On nearly all brands this involves pressing a “Learn” or “Smart” button on the motor unit (often hidden behind a light lens) until a nearby LED flashes[1]. You then press the button on the remote control to transmit the code. If the pairing is successful, the opener’s light blinks or you hear a click[2].
While the overall concept is the same, different manufacturers use slightly different sequences and buttons. Always consult your manual for exact details, but use the table below as a quick reference. Each row summarizes the key actions—complete instructions follow the table.
Brand / Model
Key steps to program the remote (summary)
LiftMaster, Chamberlain & Craftsman
Locate the Learn button on the motor unit; press and release it. Within 30 seconds, press and hold the desired button on the remote until the opener’s light blinks or clicks[5].
LiftMaster MAX
On the remote, press the Program button using a paper clip until its LED lights up. Press and release the remote button; wait for the LED to stop blinking; then press and release again until the opener blinks to confirm pairing[6].
Genie
Press and hold the opener’s Program/Learn button until its LED comes on; then press and release the remote button twice. LEDs will flash to confirm the code[7].
Sommer
Open the control housing and press the P button to start programming; a LED will blink. Press the remote button within 10 seconds, then press P again to save[8].
Ryobi
Access the control panel and press the PRG button until you hear a beep. Press the remote button; a second beep confirms programming[9].
Transmitters with DIP switches
Match the DIP switches in the remote to those inside the receiver unit or external box[10].
Universal Home Remote (built‑in vehicle)
Press the two outer buttons on the in‑vehicle remote simultaneously to clear memory; press the opener’s Learn button; then press and hold the in‑vehicle button you wish to program until the door activates, releasing when it moves[11].
Close the door and confirm a light bulb is installed in the overhead unit; the bulb provides visual feedback when programming[12].
Locate the “Learn” button on the opener or wall control panel. The button is often near the antenna and may be green, orange, red, purple or yellow[13]. Press and release it—an indicator light should glow steadily for about 30 seconds[14].
Activate the remote: within 30 seconds, press and hold the desired button on your remote control. Release when the opener’s light blinks or you hear two clicks, indicating the remote’s code has been stored[2].
Test by pressing the remote button again to ensure the door operates.
These remotes work with all LiftMaster/Chamberlain openers manufactured since 1993 and have a dedicated Program button. Use a paper clip or safety pin to press the Program button until the remote’s LED turns on[15]. Press and release the remote button you wish to program; wait for the LED to stop blinking, then press and release it again. When the opener’s light blinks, press another button on the remote to exit programming[16]. Repeat for additional buttons.
If the remote is new, remove the battery’s protective film[17].
Enter programming mode: press and hold the Program or Learn button on the opener for about two seconds until a round LED turns blue and a long purple LED flashes[18].
Program the remote: press and release the button you wish to use twice. The opener’s LEDs will flash to indicate successful programming[7].
Test by pressing the remote button again; the door should move[19].
Some older remotes use miniature DIP switches rather than rolling codes. To pair them, open the receiver’s cover (sometimes behind the opener’s light lens) and set the DIP switches in the remote to match those in the receiver[10].
If your car has a built‑in garage door opener (often called Universal Home Remote or HomeLink), pair it with your opener as follows:
Clear the in‑vehicle remote’s memory by pressing the two outer buttons simultaneously until the indicator light begins to flash[25].
Put the opener in learning mode by pressing the Learn button on the motor unit; the LED near it should begin blinking[26].
Program the in‑vehicle button: press and hold the button in your vehicle that you want to control the door. When the garage door moves, release the button, then press it again to save the setting[27].
If you move into a new house or a remote is lost or stolen, erase the opener’s memory and start fresh. Locate the Learn button and press and hold it for about six seconds—the LED will go out when the memory is cleared[28]. This erases all programmed remotes and keypads, so you’ll need to reprogram each device using the steps above.
Signal interference: Electronics like wireless routers or LED lights can interfere with the remote’s radio signal. If programming fails, move away from potential sources and ensure the opener’s antenna is fully extended and undamaged[29].
Weak batteries: Replace the remote’s batteries if it only works at close range or the LED on the remote flickers[3]. Many remotes use A23, 12A, 27A or 9V batteries—check your manual and replace them every one to two years[30].
Time limits: Most openers exit learning mode after 30 seconds to a minute[31]. If you miss the window, press the Learn button again and repeat the steps.
Unresponsive remote: Ensure the remote is pointed toward the opener’s Learn button; some models require you to press the remote button multiple times[32]. For models with DIP switches, verify the switch positions match precisely[10].
Disconnect power before working on the opener or near moving parts. Always keep the door closed and make sure no one is under it while programming[4].
Use rolling‑code remotes: Modern remotes with rolling or hopping code technology change the access code each use, making it difficult for thieves to capture and replay the signal[33].
Secure your remote: Don’t leave your remote visible in a vehicle or near a window. Store it in the glove compartment or take it with you when parking[34].
Enable vacation mode: When away for extended periods, enable your opener’s vacation or lock mode to disable remote access[35].
Erase lost remotes: If a remote is lost or stolen, erase its code from the opener immediately and reprogram remaining devices[36].
To keep your remote reliable, replace its batteries at the first sign of weak performance. Slide off the battery compartment cover, remove the old batteries, and insert the new ones aligning the positive and negative terminals correctly[37]. Avoid storing remotes in extremely hot or cold environments, and replace batteries every one to two years to prevent corrosion[30].
Programming a garage door opener remote is straightforward once you understand the learning mode and your opener’s buttons. Whether you own a LiftMaster, Genie, Chamberlain, Sommer or Ryobi unit, the process typically takes less than a minute. Always follow the manufacturer’s instructions and prioritize safety: disconnect power before working near the door, keep remotes secure, and erase codes when devices are lost or when you move into a new home. If you encounter persistent problems or have an older opener without a visible Learn button, consult your owner’s manual or contact a professional service; they can diagnose issues like faulty circuit boards or radio interference and recommend upgrades. By keeping your opener properly programmed and maintained, you’ll enjoy seamless access to your garage and peace of mind.
A visionary who is fascinated with how people organize and transform their sheds or garages. I created this blog with the hope that I can inspire others to rethink and reimagine their garage spaces.
Look forward to connecting and sharing new garage-themed content across this blog
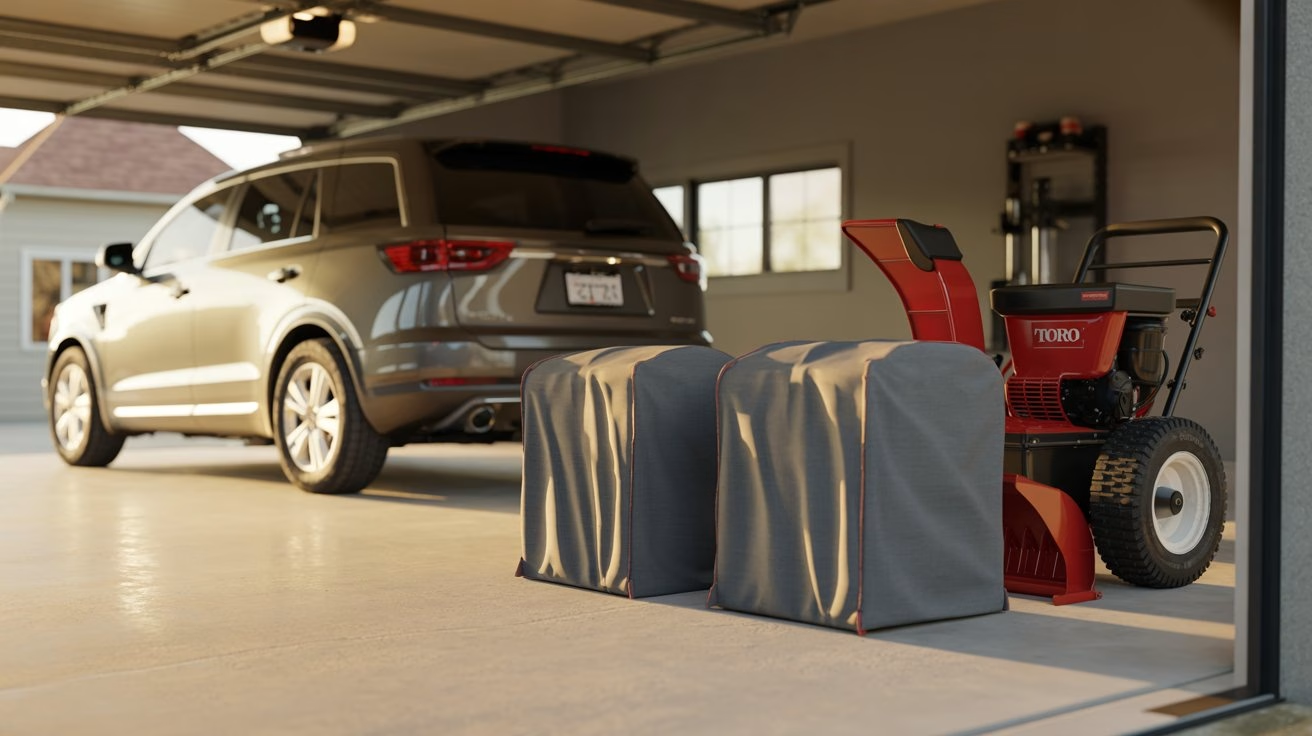
The Midwest Hibernation Philosophy: Why Maintenance is a Financial Strategy For the “Weekend Warrior” in regions like Illinois, Michigan, or Minnesota, winter equipment isn’t just
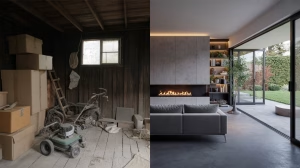
The garage is often the “junk drawer” of the home—a catch-all for half-finished DIY projects, seasonal decor, and sports equipment that hasn’t seen the light
As the traditional workplace continues to shift toward permanent remote and hybrid models in 2026, the home office has evolved from a “nice-to-have” luxury into
The new year always brings a fresh wave of motivation to declutter, reorganize, and finally tackle those home improvement projects we’ve been putting off. If