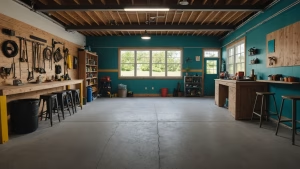
Transforming your garage into a functional workspace starts with smart electrical planning. Whether you’re charging tools, running appliances, or setting up lighting, strategic power access ensures efficiency and safety. A well-designed layout avoids overloaded circuits and reduces reliance on extension cords, saving time and frustration.
Planning ahead helps avoid costly adjustments later. Electricians typically charge $150–$250 per installation, so mapping locations during initial setup cuts expenses. Prioritize areas near workbenches, overhead lighting, and garage doors for easy access. Use GFCI-protected units to meet safety codes, especially in damp environments.
Quality materials matter. Durable plate covers prevent debris buildup, while high-grade wiring handles heavy equipment loads. For DIY projects, always shut off power at the breaker and follow local regulations. Proper spacing between units—no more than 6 feet apart—ensures consistent accessibility.
Finally, keep future needs in mind. Adding extra circuits now supports evolving setups, from electric vehicle chargers to smart home systems. This proactive approach maximizes convenience and minimizes risks like fire hazards or pest damage.
Key Takeaways
- Strategic planning reduces electrician costs and long-term adjustments.
- GFCI outlets and sealed covers enhance safety in moisture-prone areas.
- Space units every 6 feet for optimal accessibility and code compliance.
- Invest in durable materials to handle high-power tools and equipment.
- Future-proof your setup by anticipating tech upgrades or EV charging needs.
Understanding the Importance of Proper Outlet Placement
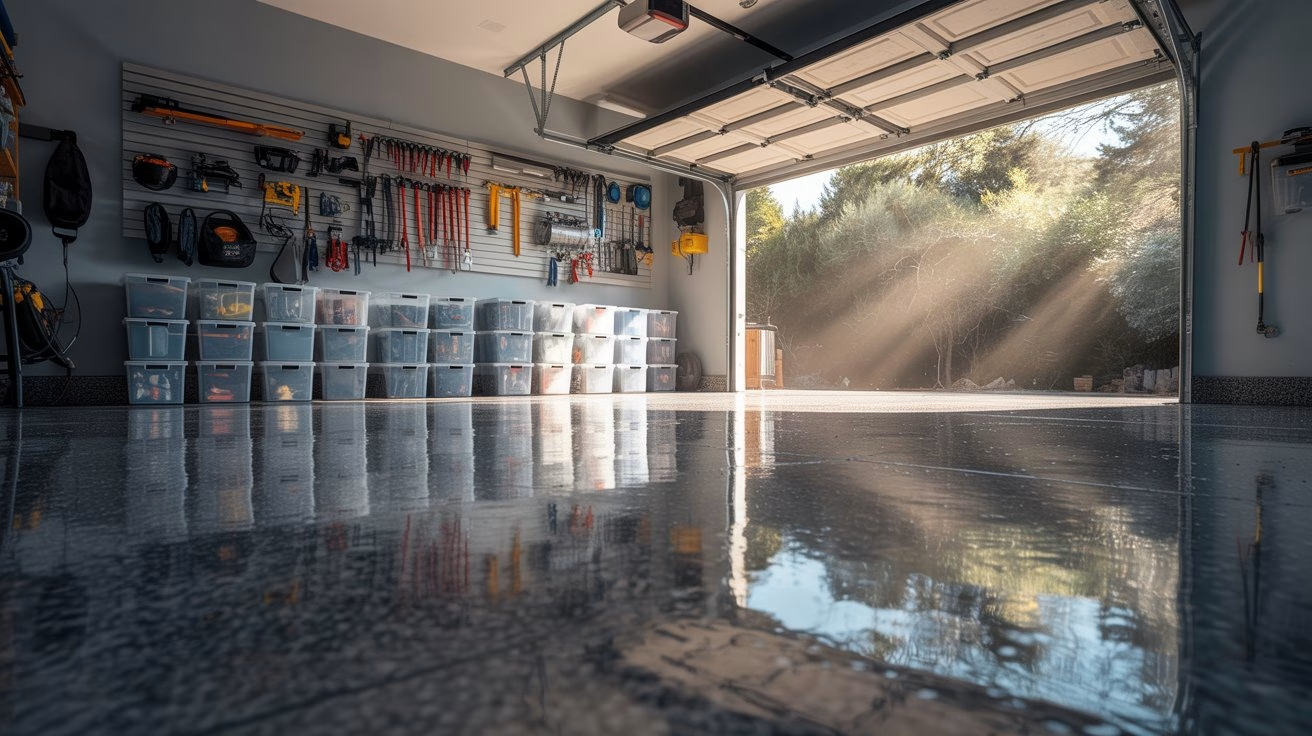
A well-planned electrical setup in your garage isn’t just about convenience—it’s a critical layer of protection for your household. Clutter-free zones around receptacles prevent tripping hazards, while reducing extension cord use lowers fire risks. This approach keeps wires organized and accessible, especially near high-traffic areas like vehicle bays.
Enhancing Safety and Convenience in Your Garage
Correctly positioned power sources eliminate the need for daisy-chaining cords across the floor. For example, installing receptacles near workbenches lets you operate tools without stretching cables. Experts recommend:
- Keeping storage boxes at least 3 feet from receptacles to avoid overheating
- Using tamper-resistant models if children frequent the space
- Labeling circuits to simplify troubleshooting
| Scenario | Safe Practice | Risk Avoided |
|---|---|---|
| Powering lawn equipment | Dedicated outdoor-rated unit | Water damage |
| Charging EVs overnight | 240V circuit with GFCI | Circuit overload |
| Running workshop tools | Spaced 6 feet apart | Tripped breakers |
Impact on Overall Home Electrical Efficiency
Optimal electrical wiring reduces energy waste. When circuits aren’t overloaded, your system operates smoothly. A National Fire Protection Association study found that 47% of garage fires stem from faulty wiring—a preventable issue with proper planning. Centralized power access also cuts phantom load from idle chargers.
Consider this: strategically placed receptacles can lower monthly bills by 5-8% in homes with heavy garage usage. They minimize voltage drops, ensuring tools run efficiently without straining the grid.
Reviewing Electrical Codes and Safety Regulations
Compliance with electrical codes prevents hazards and enhances functionality in your space. John Williamson, a licensed master electrician, stresses that modern standards address evolving safety risks. Following these rules ensures your setup aligns with national and local requirements.
Garage Receptacle Code Essentials
The National Electrical Code (NEC) mandates at least one receptacle per vehicle bay, positioned 5½ to 6½ feet above the floor. This height minimizes contact with stored items while keeping plugs accessible. GFCI protection is required for all indoor units to prevent shocks in damp conditions.

Outdoor Receptacle Requirements and Considerations
Exterior units near garage doors must meet strict weatherproof standards. NEC Article 210.52(E) specifies using weather-resistant covers and tamper-resistant slots for outdoor installations. Avoid running cords through doorways—install dedicated receptacles within 6 feet of exterior entry points instead.
For complex scenarios like detached structures, consult a licensed electrician. Local amendments to national codes may require additional measures, such as deeper conduit burial depths or arc-fault circuit interrupters (AFCIs). Proper adherence reduces inspection delays and keeps insurance coverage valid.
Preparing for Your DIY Project
Successful DIY electrical work begins with gathering the right equipment and planning your approach. Having organized supplies saves time and reduces errors during installation. Let’s break down what you’ll need to tackle this task confidently.

Essential Tools and Materials Checklist
Start with these critical items to ensure smooth progress:
| Tool/Material | Purpose | Why It Matters |
|---|---|---|
| Cordless drill | Create precise holes for wiring | Ensures secure box mounting |
| Voltage tester | Confirm power is off | Prevents accidental shocks |
| PVC conduit | Protect wires from damage | Meets safety codes |
| Framing square | Align boxes evenly | Professional-looking results |
Local hardware stores like Do it Best stock durable parts like heavy-duty covers and UL-listed receptacles. Always double-check measurements before cutting materials—even a ¼-inch error can delay your timeline.
Review your plan against local codes before drilling. A clear layout sketch helps visualize wire paths and box locations. This preparation step catches issues early, preventing rework costs or safety oversights.
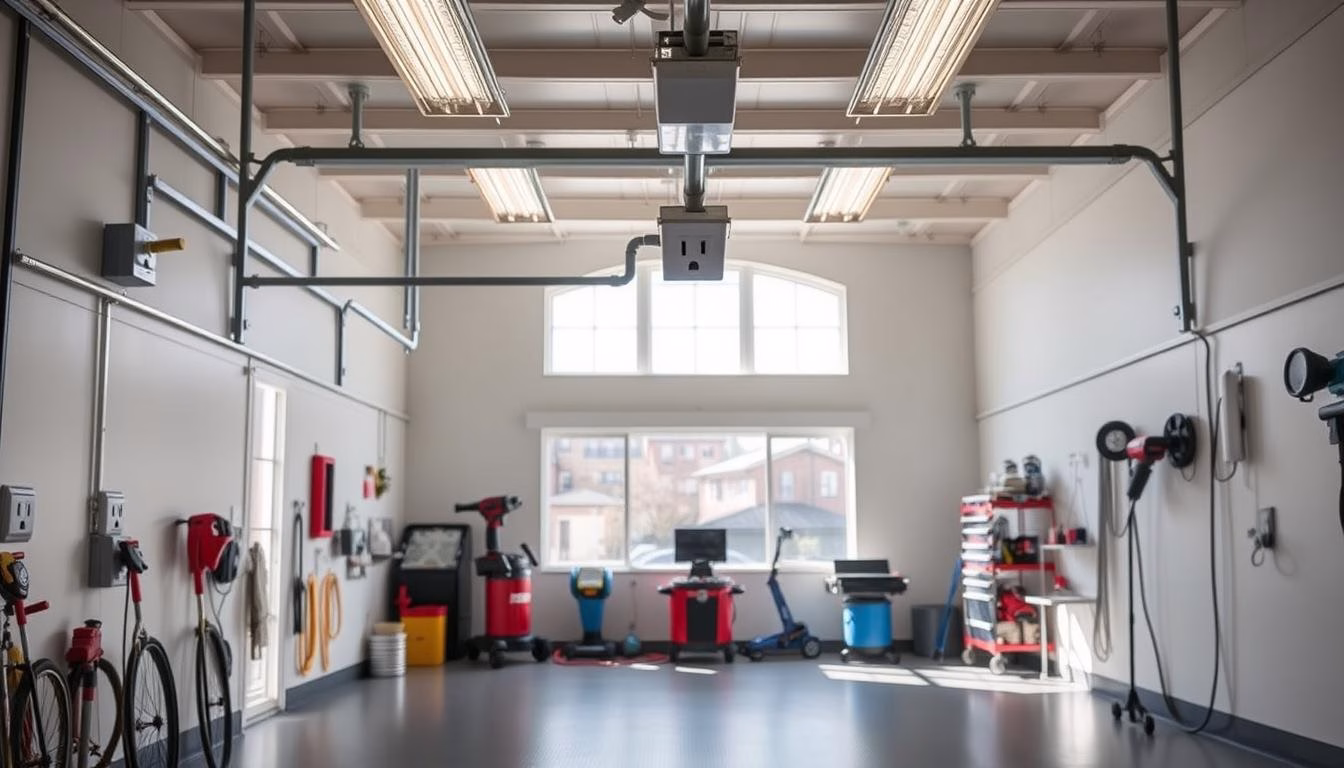
Outlet Placement Tips Garage: Planning for Optimal Access
A precise blueprint separates haphazard setups from professional-grade electrical systems. Start by sketching your space’s dimensions, noting permanent fixtures like water heaters or storage shelves. This visual guide helps identify zones needing circuit access while accounting for ceiling height and floor obstacles.
Sketching Your Outlet Layout
Measure distances between walls, doors, and workstations. For ceiling-mounted tools like air compressors, position units 18–24 inches below the roofline. Floor-level receptacles suit appliances such as refrigerators, keeping cords off walking paths. Leave 36 inches of clear space around panels for safety compliance.
| Area | Ideal Height | Purpose |
|---|---|---|
| Workbench wall | 48 inches | Power tools |
| Garage door side | 12 inches | Seasonal decor |
| Ceiling center | 8 feet | Overhead lighting |
Material List and Budgeting
Create a supply checklist based on your sketch. A typical 20×20-foot area requires:
- 6–8 duplex receptacles ($8–$15 each)
- 50 feet of 12/2 NM-B wire ($0.60/foot)
- Weatherproof covers for exterior walls ($4–$7)
Allocate $200–$400 for materials, plus permits if required. Label each circuit on your plan to balance loads. For example, dedicate one line to lighting and another to heavy equipment. This prevents tripped breakers when using multiple devices.
| Supply | Purpose | Avg. Cost |
|---|---|---|
| PVC conduit | Wire protection | $1.20/foot |
| 4″ junction box | Connection hub | $3.50 |
| GFCI tester | Safety checks | $12 |
Step-by-Step Installation and Wiring Procedures
Mastering garage wiring requires methodical execution. Begin by shutting off power at the main breaker—use a voltage tester to confirm circuits are dead. This critical safety step prevents shocks and protects your home’s electrical system.
Installing PVC Conduit and Secure Wiring Techniques
Measure and cut PVC conduit using a hacksaw, leaving ¼-inch gaps for thermal expansion. Secure brackets every 4 feet with corrosion-resistant screws. Feed 12-gauge THHN wire through the conduit, leaving 8-inch tails at each end for connections.
- Label wires with colored tape for easy identification
- Apply antioxidant gel to aluminum connections
- Use torque screwdrivers for precise terminal tightness
| Wire Type | Max Amps | Typical Use |
|---|---|---|
| 14 AWG | 15 | Lighting circuits |
| 12 AWG | 20 | Power tools |
| 10 AWG | 30 | EV chargers |
Connecting Outlets to Existing Electrical Systems
Match wire colors when joining new circuits—black to hot, white to neutral, green to ground. For 240V appliances like compressors, install double-pole breakers. Always test connections with a GFCI tester before restoring power.
When upgrading systems for high-demand devices:
- Calculate total wattage (volts × amps)
- Verify circuit capacity using NEC charts
- Add dedicated lines for equipment over 1,500W
Electricians recommend allocating separate circuits for refrigerators and charging stations. This prevents overloads when multiple appliances run simultaneously. Ground all metal boxes and conduits to eliminate stray voltage risks.
Maintenance, Upkeep, and Long-Term Safety Practices
Regular care ensures your electrical systems remain safe and functional for years. Simple habits prevent hazards and extend equipment lifespan. Start by scheduling quarterly inspections to catch issues early.
Routine Maintenance Tips
Clear clutter within 3 feet of receptacles to improve airflow and reduce fire risks. Verify installed height remains between 5½ to 6½ feet—settling foundations or wall shifts can alter positioning over time. Use compressed air to remove dust from slots every 6 months.
Test GFCI responsiveness monthly by pressing the “reset” button. Replace cracked covers immediately to block pests and moisture. As one safety expert notes:
“A $5 cover replacement today prevents $500 repairs tomorrow.”
Preventing Common Electrical Hazards
Monitor lights for flickering or dimming, which signal overloaded circuits. Limit high-wattage devices on shared lines—dedicate separate circuits for refrigerators or power tools. Keep 36 inches of open space around panels for emergency access.
- Label circuits clearly to simplify troubleshooting
- Upgrade worn wiring showing fraying or discoloration
- Avoid “daisy-chaining” power strips for heavy loads
Address minor sparks or buzzing sounds promptly. These often indicate loose connections needing professional attention. Proactive care reduces risks while maintaining peak performance.
Conclusion
A safe, efficient workspace begins with smart electrical design. Strategic planning cuts costs and prevents hazards—proper spacing and code-compliant installations keep your house protected. Remember, GFCI units and weatherproof covers are non-negotiable for damp areas.
Always start with a clear layout sketch. Position receptacles near workstations and entry points to minimize cord clutter. Use heavy-duty wiring and junction boxes rated for high loads. This approach ensures your system handles tools and future tech upgrades effortlessly.
Routine checks maintain safety. Test breakers monthly and replace worn components promptly. By following NEC guidelines and local codes, you’ll avoid 47% of fire risks linked to faulty setups. Invest in quality materials—they’re the backbone of lasting performance.
Ready to transform your space? Map your needs, gather tools like voltage testers and PVC conduit, and prioritize safety at every step. Thoughtful preparation today builds a reliable, energy-smart tomorrow.