Your garage is more than just a place to park your car; it’s a workshop, a storage unit, and a critical entry point to your home. As a homeowner and a hands-on DIY enthusiast, you know that keeping this space in top condition is essential for safety, efficiency, and property value. A well-maintained garage can prevent costly repairs, protect your belongings, and ensure the smooth operation of what is arguably one of the largest moving parts of your home: the garage door. This comprehensive guide will walk you through the essential maintenance tasks, from the ground up, empowering you with the knowledge to perform preventative care like a pro.
The Heart of the Garage: Door and Opener Maintenance
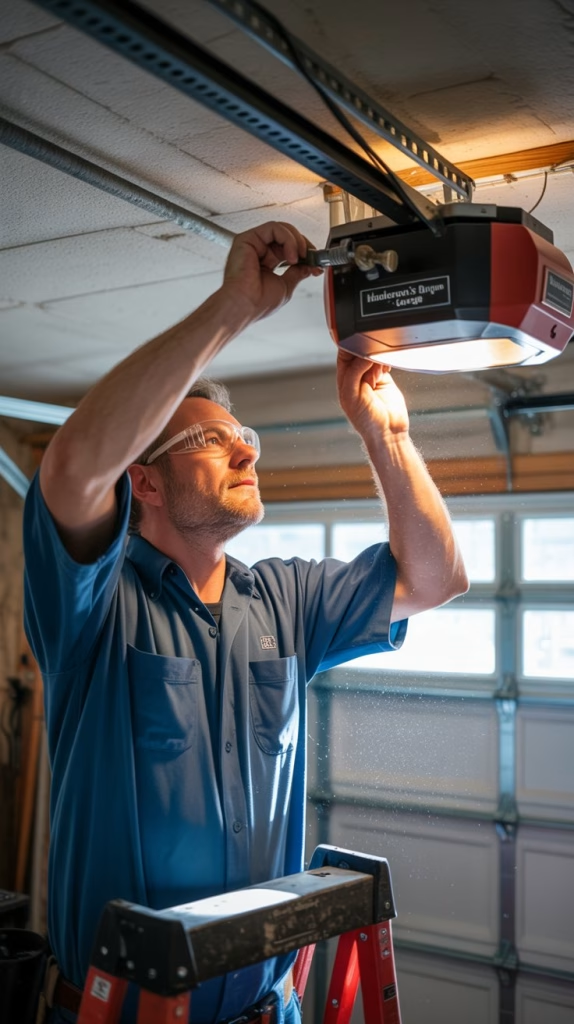
The garage door system is complex, with numerous moving parts working in concert. Ignoring its upkeep is an open invitation for future malfunctions and potential safety hazards. Consistent, proactive maintenance is key to keeping it running smoothly and safely.
Visual Inspection: Your First Line of Defense
Begin with a thorough visual inspection. Stand inside your garage and look at the tracks, rollers, hinges, and cables. What you’re looking for are any signs of wear and tear, such as rust, bent components, or frayed cables. Pay close attention to the garage door springs, as these are under immense tension. Never attempt to adjust or repair them yourself; this task is best left to a professional due to the significant risk of injury. Also, inspect the hardware holding the tracks to the wall. Over time, vibrations can loosen these bolts and brackets, so check that they are all secure.
The Art of Lubrication: What to Use and What to Avoid
Proper lubrication is the single most important step in extending the life of your garage door system. Many people make the mistake of grabbing a can of WD-40, but this is not the right tool for the job. WD-40 is a degreaser, not a lubricant, and it can actually strip away existing grease and cause parts to wear out faster. Instead, you’ll need a lithium-based grease or a silicone-based lubricant spray.
Here’s a step-by-step guide to proper lubrication:
- Hinges and Rollers: Lubricate the rollers at the point where they meet the tracks. Avoid spraying the tracks themselves, as this can cause the rollers to slip. Apply the lubricant to the hinges where they pivot.
- Springs: Use a spray lubricant to coat the springs. This not only keeps them from squeaking but also protects them from rust.
- Bearings and Pulleys: If your system has these, a light application of lubricant will ensure they spin freely and quietly.
- Chain or Screw Drive: If your opener uses a chain or screw drive, consult your owner’s manual for specific lubrication instructions. Generally, a small amount of lithium grease on the chain or screw will do the trick.
Testing the Safety Features: A Critical Check
Your garage door opener is equipped with two essential safety features: the auto-reverse function and the photoelectric sensors. These features are mandated by law for a reason and must be checked regularly.
- The Auto-Reverse Test: Place a piece of wood (a 2×4 is perfect) on the garage floor directly in the door’s path. Activate the door to close. When it makes contact with the wood, it should immediately reverse and go back up. If it doesn’t, the opener’s sensitivity needs to be adjusted, or there may be a more significant issue.
- The Photoelectric Sensor Test: The small boxes on each side of the garage door opening are the photoelectric sensors. They create an invisible beam across the opening. To test them, simply pass your foot in front of one of the sensors while the door is closing. The door should immediately stop and reverse. If it doesn’t, check for any obstructions, clean the lenses, and make sure they are properly aligned.
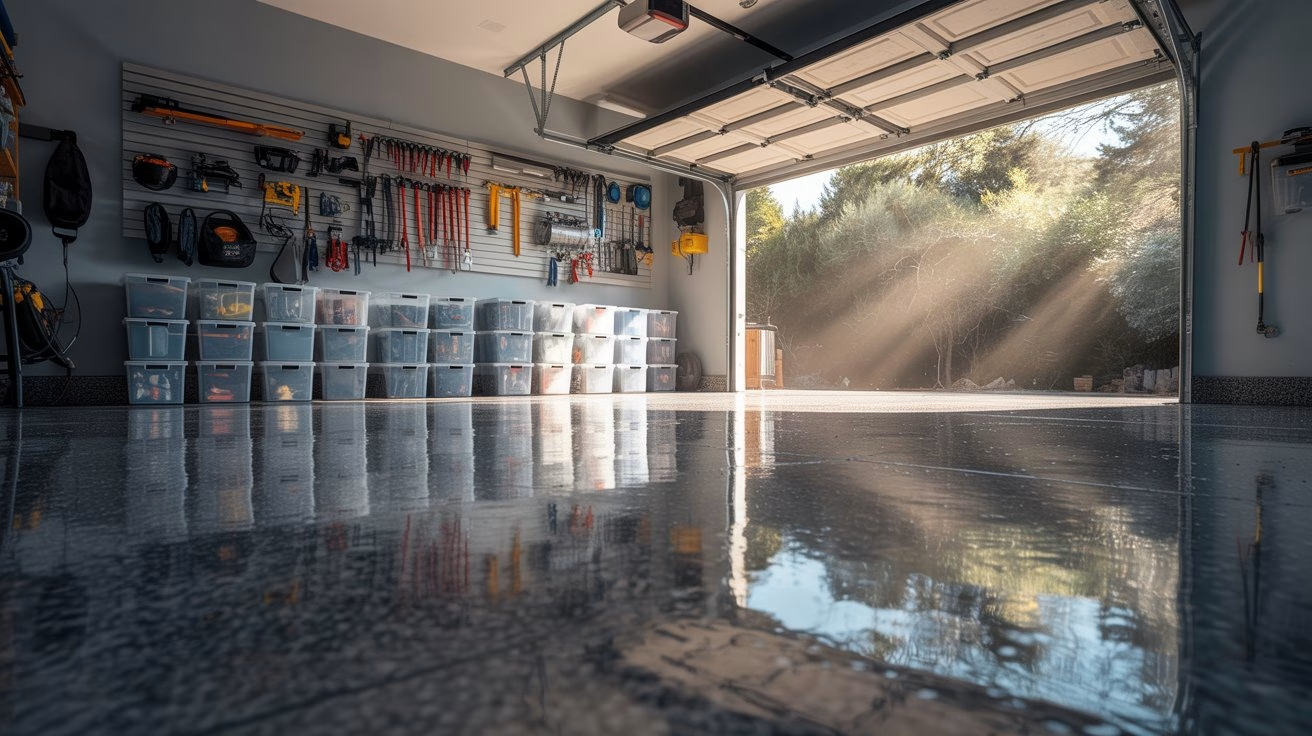
Foundation and Flooring Care
The floor of your garage takes a beating from vehicle traffic, oil spills, chemical leaks, and foot traffic. Taking care of your garage floor is not just about aesthetics; it’s about protecting the underlying concrete from degradation and making cleanup easier.
Cleaning and Sealing: Protecting Your Investment
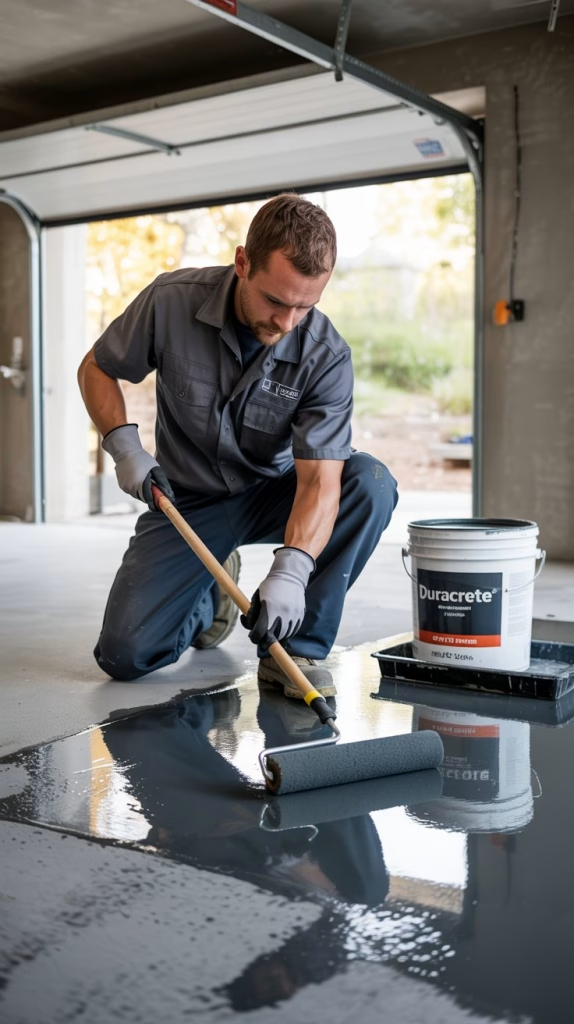
Routine cleaning is the first step. Start by sweeping away all loose debris. For a deeper clean, especially to remove stubborn oil or grease stains, use a degreaser specifically designed for concrete. Follow the product instructions, which typically involve applying the degreaser, letting it sit, scrubbing the area with a stiff brush, and then rinsing it thoroughly.
Once the floor is clean and dry, consider applying a protective sealant or an epoxy coating. A sealant will penetrate the concrete, making it more resistant to stains and moisture. An epoxy coating will provide a durable, professional-looking surface that is easy to clean and highly resistant to chemical spills. This is an excellent weekend project for a DIY enthusiast and offers a significant return on effort.
Crack Repair: Preventing Further Damage
Minor cracks are common in concrete floors, but if left unaddressed, they can worsen over time. Use a concrete patch or crack filler to repair these imperfections. For small cracks, a simple caulk-like filler is effective. For larger cracks, a more robust patching compound may be necessary. Always clean the crack thoroughly before applying the filler to ensure a good bond.
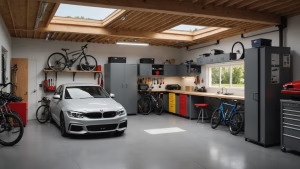
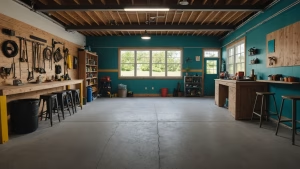
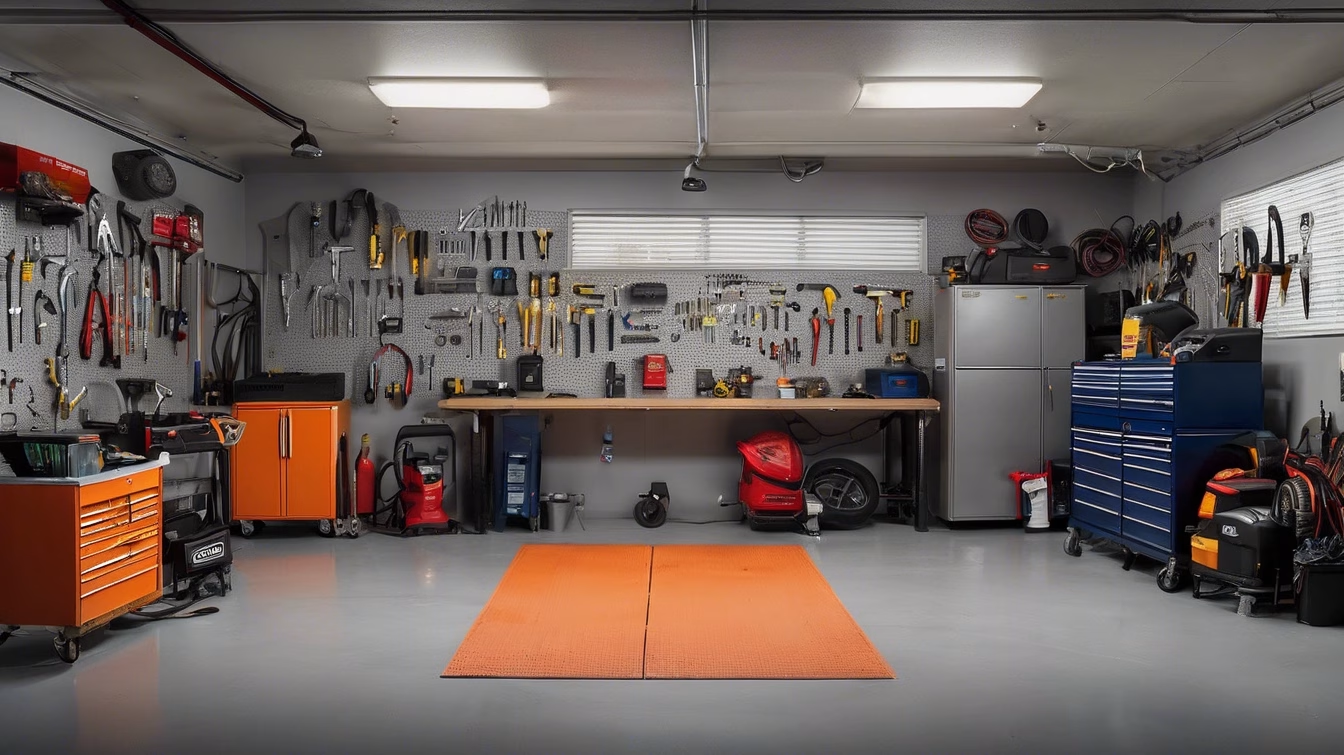
Organized for Efficiency
A cluttered garage isn’t just an eyesore; it’s an inefficient and potentially unsafe workspace. For a DIY enthusiast, an organized garage is a productive one.
Decluttering and Zoning: The First Step to Sanity

Begin by taking everything out of the garage. Yes, everything. This is an excellent opportunity to sort through your tools, materials, and other belongings. Create three piles: Keep, Toss, and Donate. Be ruthless in your decision-making. Once you’ve sorted, mentally divide your garage into zones: a “parking zone,” a “workshop zone,” and a “storage zone.” This simple act of planning can dramatically improve the functionality of your space.
Smart Storage Solutions: Vertical is Your Friend
The key to a tidy garage is getting things off the floor. Embrace vertical storage.
- Wall-Mounted Systems: A pegboard is a classic and versatile solution for hanging hand tools, while slat walls offer even greater flexibility with a variety of hooks, baskets, and shelves.
- Overhead Racks: These are perfect for storing seasonal items like camping gear, holiday decorations, or sports equipment. They free up valuable floor space without impeding your ability to park your vehicle.
- Shelving Units: Heavy-duty metal or plastic shelving units are ideal for organizing larger items, bins, and paint cans. Ensure they are secured to the wall to prevent them from tipping over.
- Tool Chests: For valuable or frequently used tools, a rolling tool chest with drawers provides both organization and security.
Electrical and Environmental Safety
Beyond the mechanical aspects, a safe garage also requires attention to its electrical systems and overall environmental integrity.
Electrical Systems: A Matter of Safety
Garages are often damp and prone to temperature fluctuations, which can be hard on electrical components. Regularly inspect all outlets and light fixtures for signs of damage or wear. It is highly recommended to have GFCI (Ground Fault Circuit Interrupter) outlets installed in your garage. These outlets are designed to trip the circuit if they detect a ground fault, preventing electric shock—a critical safety feature in a space where water and electricity may coexist. Also, be mindful of extension cords; use them sparingly and never run them under a car or through a doorway where they could be pinched or damaged.
Insulation and Weatherproofing: Keeping the Elements Out
Proper insulation and weatherproofing aren’t just for comfort; they also protect your belongings from extreme temperatures and moisture. Check the weather stripping around the garage door and replace it if you notice cracks or gaps. This simple fix can save you money on your energy bill and keep your garage cleaner. Examine the seals around windows and entry doors, and consider adding insulation to your garage door itself to improve its efficiency.
The Annual Pro Check-up: When to Call for Reinforcements
While a DIY enthusiast can handle most routine maintenance, some jobs are best left to the professionals. Knowing your limits is part of being a responsible homeowner.
- Torsion Spring Replacement: As mentioned earlier, garage door springs are under enormous tension. Replacing them requires specialized tools and expertise. An amateur attempt can result in serious, life-threatening injury.
- Major Opener Repairs: If your garage door opener is failing to respond, making unusual noises, or has a significant mechanical issue, a professional can diagnose and repair it safely.
- Structural Damage: Any signs of damage to the garage’s framing, foundation, or roof should be evaluated by a professional contractor to ensure the structural integrity of your home.
By following this guide, you can ensure your garage remains a functional, safe, and organized part of your home for years to come.