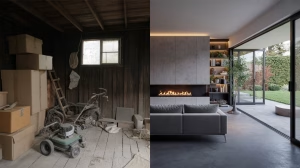
Is your garage a source of stress rather than a sanctuary for your tools and toys? You’re not alone. For many homeowners, the garage quickly transforms into a catch-all for everything that doesn’t have a designated spot inside the house. It becomes the land of forgotten projects, dusty sports equipment, and mystery boxes that haven’t been opened since the last move. The sheer volume of “stuff” can be paralyzing, leading to procrastination and an ever-growing mountain of clutter.
But what if you could reclaim that space? What if you could find exactly what you need, when you need it, and even park your car inside again? This isn’t a pipe dream; it’s an achievable reality. This guide will provide you with a clear, actionable, step-by-step plan to declutter, categorize, and conquer your garage – all in a single weekend. Forget the overwhelming mess and the endless delays; it’s time to transform your garage into an organized, efficient extension of your home.
Why Your Garage Becomes a Black Hole (and How to Escape It)
Before we dive into the solution, it’s helpful to understand the “why.” Garages are often the default storage area because they offer ample space and are conveniently out of sight from the main living areas. This ease of access, combined with a lack of defined zones or storage systems, makes them prime candidates for clutter accumulation. We toss things in, promising to “deal with it later,” and “later” never quite arrives. The problem isn’t a lack of space; it’s a lack of system. This challenge aims to provide that system.

Preparation is Key: Your Weekend Battle Plan
Success in any large organizational project hinges on preparation. Think of this as your strategic briefing before the big push.
1. Set Aside Dedicated Time
This isn’t a “squeeze it in between errands” kind of project. You’ll need at least one full day, and ideally, an entire weekend. Communicate your plans to your family so they understand you’ll be focused and can offer support (or at least stay out of your way!).
- Friday Evening: Prep and gather supplies.
- Saturday: The Big Purge (Steps 1-3).
- Sunday: Organize and Systematize (Steps 4-6).
2. Gather Your Arsenal: Supplies You’ll Need
Having these items on hand before you start will prevent interruptions and keep your momentum going.
- Sturdy Boxes/Bins: For categorizing items (Keep, Donate, Sell, Trash). You’ll need plenty.
- Large Trash Bags: Heavy-duty construction bags are ideal for refuse.
- Cleaning Supplies: Broom, dustpan, shop vac, rags, all-purpose cleaner.
- Labels and Markers: Essential for clear identification.
- Safety Gear: Gloves, sturdy shoes, perhaps a dust mask.
- Tools: Basic hand tools if you plan to assemble shelves or storage units (screwdriver, drill, level).
- Music/Podcast: Something to keep you energized and entertained.
- Water and Snacks: Stay hydrated and fueled!
3. Envision Your Ideal Garage
Before you touch a single item, take a moment to visualize the end result. What would your dream garage look like? Where would everything go? What functions would it serve? This mental blueprint will serve as your motivation and guide throughout the process. Do you want a dedicated workbench? A clear pathway to your car? A visible spot for every tool? Hold onto that vision.
The Six-Step Weekend Challenge: From Chaos to Clarity
Here’s your actionable plan to tackle the garage. Follow these steps methodically, and you’ll be amazed at the transformation.
Step 1: The Grand Evacuation – Emptying “The Dump Zone”
This is arguably the most daunting, yet most crucial, step. You cannot effectively organize clutter if it’s still piled high. The goal here is to completely empty your garage. Yes, everything.
- Pick a Clear Day: You’ll need driveway or yard space to temporarily hold everything.
- Start with Zones: If emptying everything at once feels too overwhelming, tackle it in sections. For instance, clear out one wall first, move those contents out, and then move to the next. However, the most effective method is a full clear-out if possible.
- Create Temporary Staging Areas: As you pull items out, roughly group them in the driveway: tools, sporting goods, holiday decorations, car supplies, gardening equipment, etc. Don’t get bogged down in detailed sorting yet; just get it out of the garage.
- Be Ruthless (Initially): If an item is clearly trash, broken beyond repair, or hazardous waste (paint, chemicals), set it aside immediately for proper disposal.
Once everything is out, take a moment. You’ll likely see your garage floor for the first time in ages! This is a good time to give the now-empty space a thorough cleaning. Sweep, vacuum, wipe down shelves, and get rid of cobwebs. This fresh start will be incredibly motivating.
Step 2: The Ruthless Purge – “The Keep, Donate, Sell, Trash Zones”
With everything out in the open, it’s time for the tough decisions. This is where you confront every single item and decide its fate. Create four distinct zones in your temporary staging area:
- Keep Zone: Items you frequently use, genuinely need, or deeply value. Be honest with yourself.
- Donate Zone: Items in good condition that you no longer need but could be useful to others. Think about local charities, thrift stores, or community organizations.
- Sell Zone: Items of value that you don’t need but could fetch a price (e.g., old furniture, specialty tools, exercise equipment). Consider online marketplaces or a garage sale.
- Trash Zone: Broken items, true junk, things beyond repair, or anything that doesn’t fit into the other categories. Also include hazardous waste here, but remember to dispose of it properly at designated facilities.
Decision-Making Strategies:
- The “One-Year Rule”: Have you used it in the last year? If not, seriously consider letting it go. (Exceptions for seasonal items like holiday decor or specific tools for rare projects).
- The “Duplicate Rule”: Do you have three of the same wrench? Keep the best one, let go of the others.
- The “Future Self” Rule: Is this item serving your present or future goals, or is it holding onto a past self you no longer are?
- Sentimental vs. Useful: Be pragmatic. While some items hold sentimental value, the garage is primarily a functional space. Can it be photographed and then donated?
As you sort, immediately place items into their respective boxes or bags. Don’t second-guess yourself too much. The goal is to make quick, decisive choices.
Step 3: Immediate Action – Removing the Outliers
This step is critical for preventing re-cluttering. As soon as you’ve sorted, take immediate action on the items leaving your possession.
- Trash: Load it into your vehicle and take it to the dump or set it out for pickup. If you have hazardous waste, make plans to take it to a special collection site.
- Donate: Pack these items securely in your car. Plan a trip to your chosen charity or donation center that day or first thing Sunday morning. Get a receipt for tax purposes if applicable.
- Sell: Take clear photos of items you plan to sell. Post them online immediately, or if you’re having a garage sale, clearly label them. Set a deadline for selling; if they don’t sell by then, they move to the donate pile.
The sooner these items leave your property, the less chance they have of migrating back into your newly organized space.
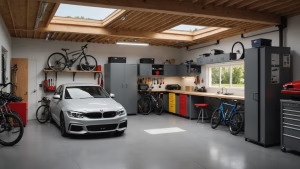
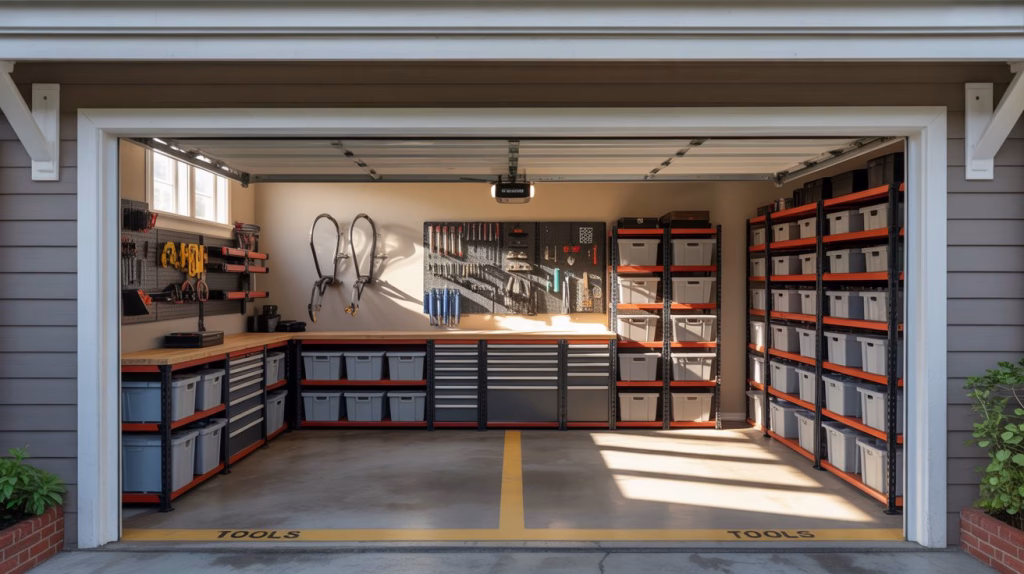
Step 4: Zone Creation – Designing Your Functional Garage
Now that you know what you’re keeping, it’s time to bring it back into the garage with a purpose. This is where you apply your ideal garage vision. Think about the types of activities that happen in your garage and create distinct “zones” for them.
Common Garage Zones:
- Tool Zone: Hand tools, power tools, workbench, hardware.
- Sports & Recreation Zone: Bikes, balls, camping gear, fishing equipment.
- Gardening Zone: Pots, soil, small tools, fertilizers, hoses.
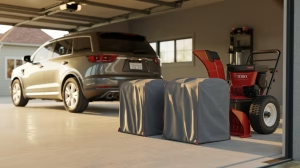
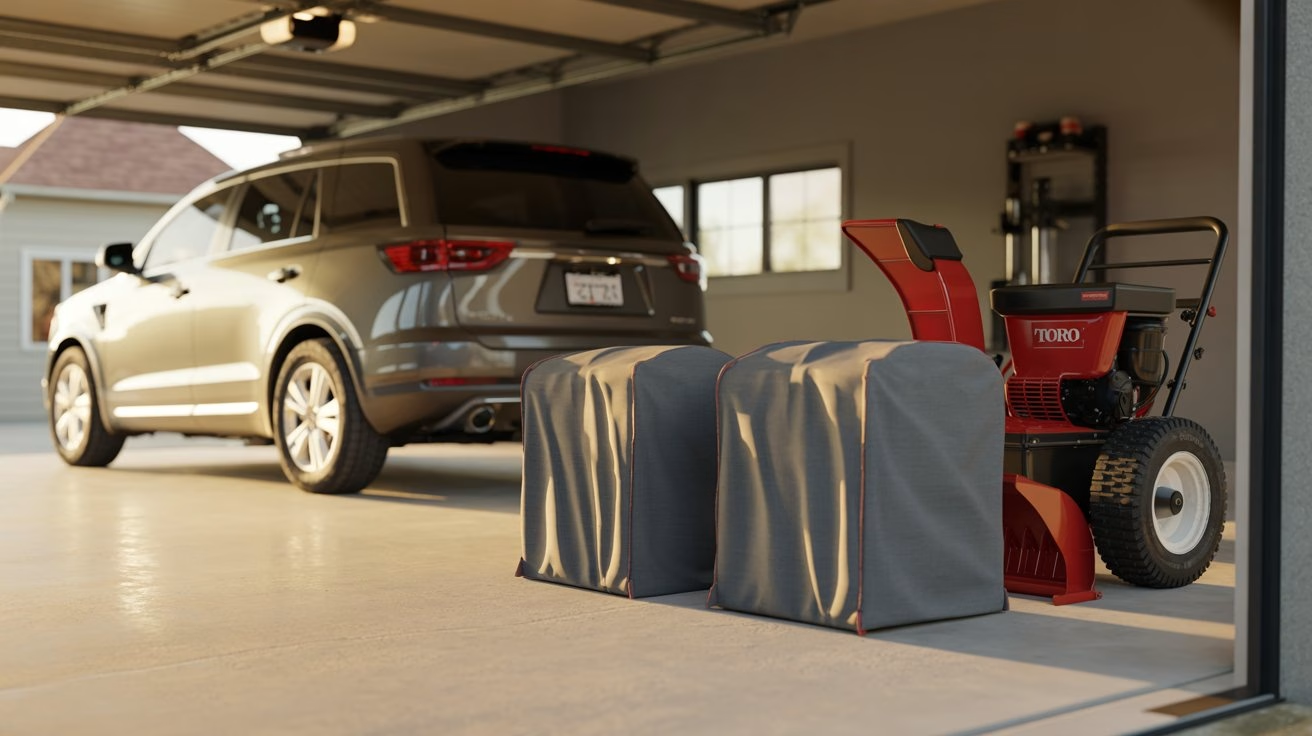
- Automotive Zone: Car cleaning supplies, oil, emergency kit, spare tires.
- Household Overflow/Seasonal Zone: Holiday decorations, bulk pantry items, rarely used large appliances.
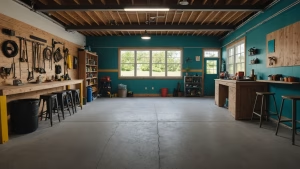
- Work/Hobby Zone: If you have a dedicated area for projects, ensure it’s functional.
Principles of Zone Creation:
- Accessibility: Place frequently used items in easy-to-reach locations. Rarely used items can go higher or in less accessible spots.
- Logic: Group like items together. All car care products should be in one area, all gardening tools in another.
- Vertical Space: Don’t forget walls and ceilings! They are prime real estate for storage.
Before bringing anything back in, mentally (or even physically, with tape on the floor) map out where these zones will be.
| Product Image | Product Name / Our Rating / Price | Primary Button |
|---|---|---|
|
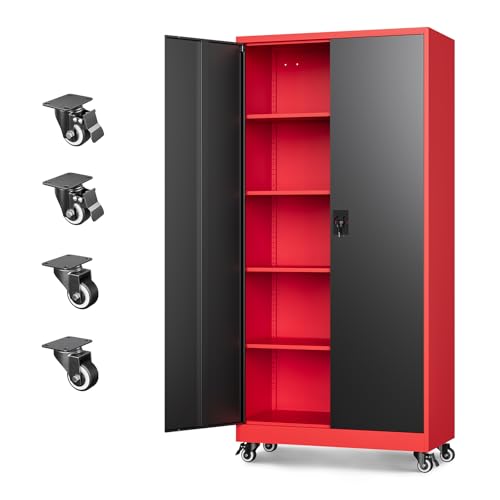
For those that like Red
|
||
|
|
||
|
Wheels Are A Bonus
|
||
|
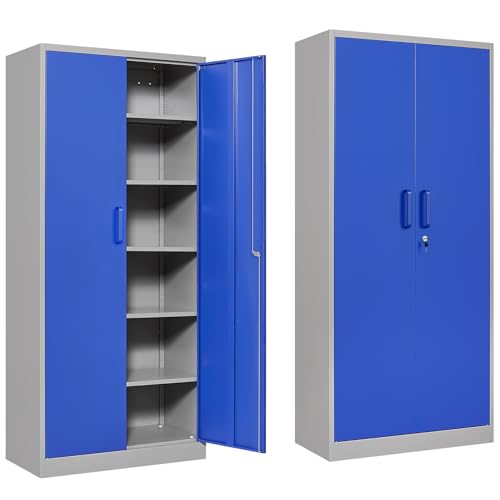
Best Choice
|


Step 5: Strategic Storage – Maximizing Your Space
With your zones defined, it’s time to implement smart storage solutions. This isn’t just about putting things away; it’s about putting them away efficiently and visibly.
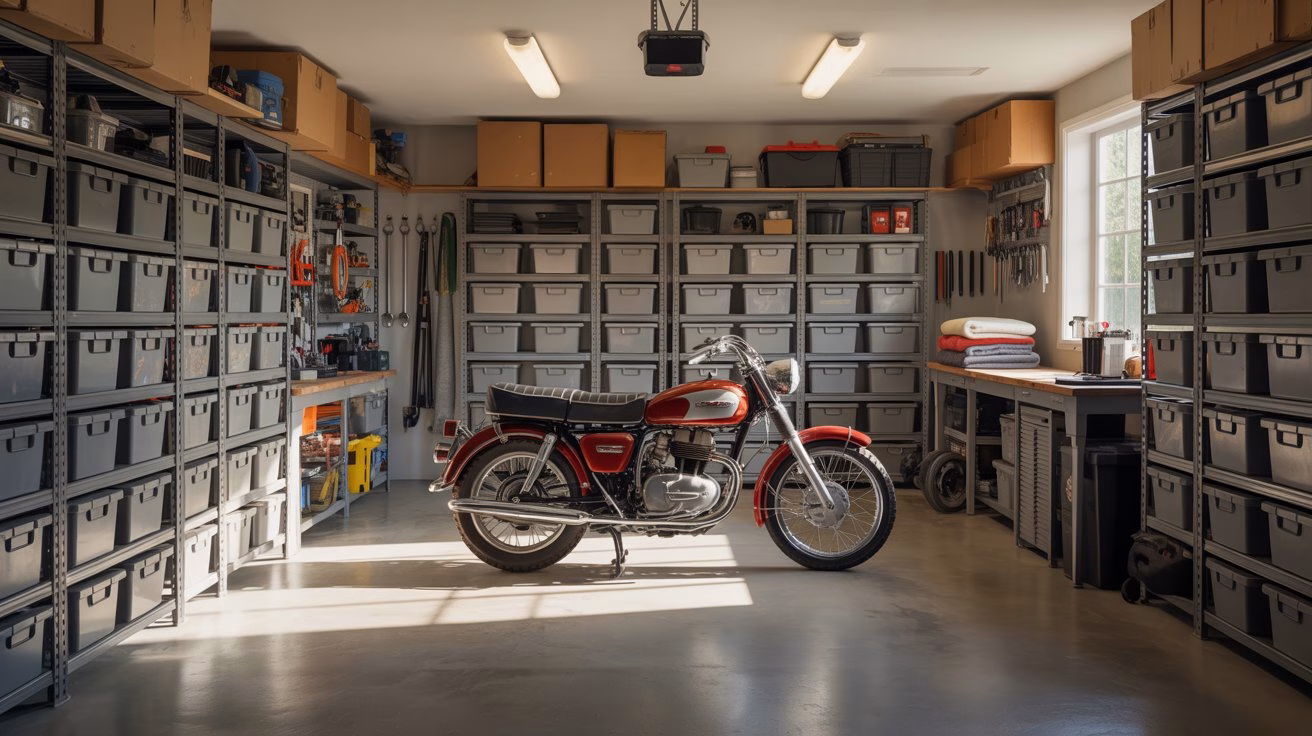
- Shelving Units: Heavy-duty shelving is the backbone of garage organization. Opt for adjustable shelves to accommodate varying item heights. Metal or sturdy plastic shelves are preferable to particle board, which can sag or warp in garage conditions.
- Wall Storage Systems:
- Pegboards: Excellent for hand tools, offering flexibility to rearrange.
- Slatwall Panels: A versatile system for hanging hooks, bins, and shelves.
- Track Systems: Rails with various hooks for shovels, rakes, bikes, and other long-handled items.
- Overhead Storage: Ceiling-mounted racks are perfect for rarely used, bulky items like holiday decorations, seasonal tires, or camping gear, freeing up valuable floor space. Ensure they are properly installed and rated for the weight you plan to store.
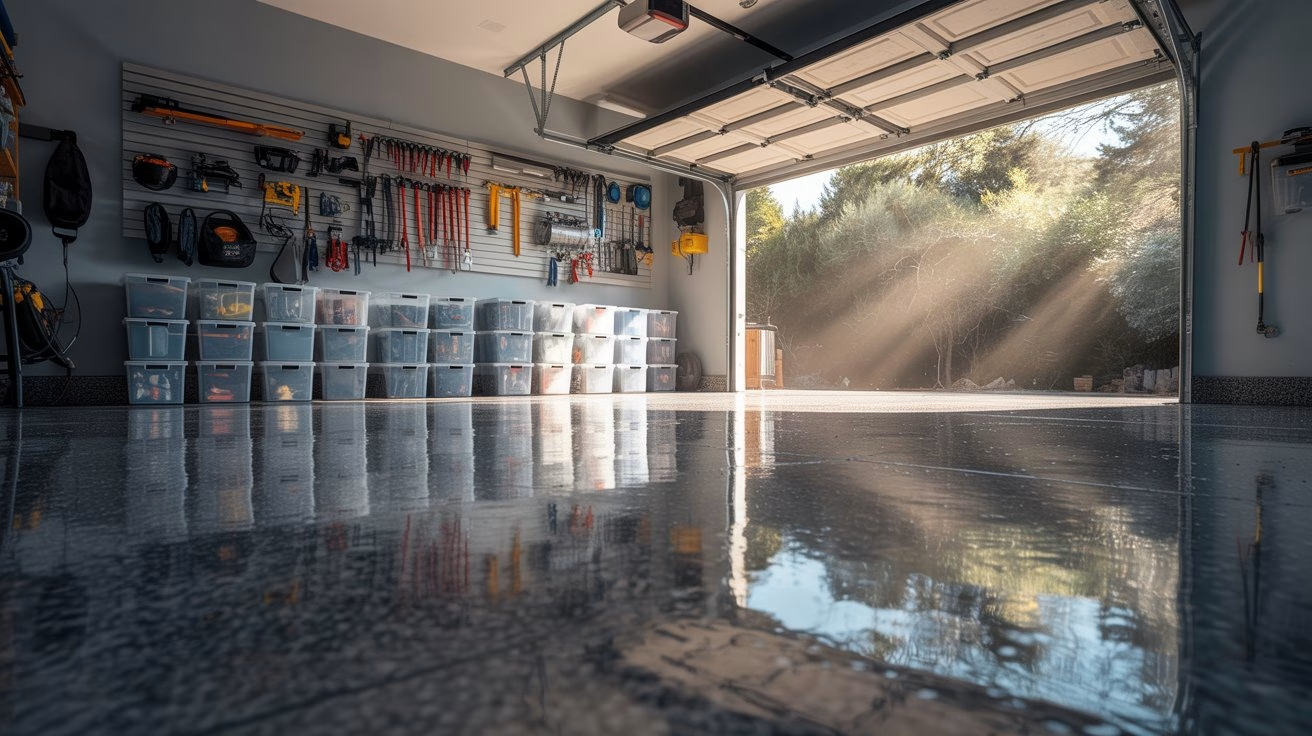
- Clear Bins & Totes: While opaque bins hide clutter, clear bins allow you to see contents at a glance, saving time. Label everything regardless of bin type.
- Cabinets: For chemicals, paints, or more valuable tools, lockable cabinets offer security and a clean aesthetic.
- Specialized Holders: Bike hooks, ball cages, hose reels, lumber racks – invest in solutions designed for specific items to keep them tidy and off the floor.
As you bring items back into your garage, place them directly into their designated zone and chosen storage solution.
Step 6: Labeling and Maintenance – The Key to Lasting Organization
You’ve done the hard work, now make it stick! Labeling is paramount for maintaining organization.
- Label Everything: Every bin, every shelf, every drawer. Use clear, concise labels. This helps everyone in the household know where things belong and where to find them.
- Consider a Label Maker: For a professional and consistent look.
- Establish a “Home” for Everything: Every item should have a designated spot. If it doesn’t, you need to reassess whether you truly need it or if your storage system needs adjustment.
- The “Return-to-Home” Rule: Make it a habit that once an item is used, it immediately goes back to its designated spot. This is the single most effective way to prevent future clutter accumulation.
- Scheduled Mini-Declutters: Once a month, or at least quarterly, spend 15-30 minutes doing a quick garage tidy-up. Put things back in their place, and deal with any new items that have crept in.
- Annual Purge: Once a year, revisit your “Keep” items. Do you still use them? Are they still needed? Be prepared to cycle items out to the Donate or Sell zones.
Your Essential Tool: The Garage Organization Checklist
To help you conquer this challenge, we’ve created a comprehensive, printable checklist. This guide breaks down each step into smaller, actionable tasks, ensuring you don’t miss a beat. From gathering supplies to implementing your maintenance plan, this checklist will be your trusty companion throughout the weekend.
[Download Your Free Printable Garage Organization Checklist PDF Here!] (Note: In a real blog post, this would be a clickable link to a PDF download.)
What’s Included in Your Checklist:
- Pre-Challenge Prep: A list of supplies and mental preparations.
- Step-by-Step Breakdown: Detailed actions for each of the six phases.
- Decision-Making Prompts: Questions to help you decide what to keep, donate, or trash.
- Zone Planning Worksheet: Space to map out your ideal garage layout.
- Maintenance Reminders: Tips for keeping your garage tidy in the long run.
Beyond the Weekend: Embracing a Tidy Lifestyle
Congratulations! You’ve tackled what many consider an insurmountable task. Your garage is no longer a chaotic “dump zone” but a functional, organized space that serves your needs. This transformation isn’t just about a tidy garage; it’s about reclaiming valuable space, reducing stress, and fostering a sense of accomplishment.
Remember, organization is an ongoing process, not a one-time event. By adopting the habits of regular maintenance and mindful consumption, you can ensure your garage remains a beacon of order for years to come. Enjoy the freedom of a clutter-free garage, and perhaps, even park your car inside again!