Upgrading your concrete space can add value and functionality to your home. A well-designed surface resists stains, cracks, and wear while enhancing aesthetics. Whether you’re tackling this project solo or hiring help, understanding the basics ensures lasting results.
Preparation is critical. Cleaning, repairing cracks, and etching the concrete create a strong bond for coatings. Experts like Xtreme Polishing Systems stress that skipping these steps leads to peeling or bubbling later. Quality materials, such as epoxy, offer durability and customization options.
This guide walks you through each step, from initial cleaning to final sealing. You’ll learn how to choose products suited for high-traffic areas and apply them evenly. Decorative techniques, like metallic flakes or colored chips, let you personalize the space without compromising strength.
Regular upkeep extends the life of your new surface. Simple habits, like wiping spills quickly, prevent long-term damage. Follow these strategies to create a polished, professional finish that withstands daily use.
Key Takeaways
- Proper surface preparation ensures coatings adhere correctly and last longer.
- Epoxy provides a durable, customizable finish resistant to chemicals and stains.
- Follow a clear step-by-step process for cleaning, repairing, and applying materials.
- Decorative options add style without sacrificing functionality.
- Routine maintenance keeps your upgraded surface looking new for years.
- Budget-friendly solutions exist for every skill level and design preference.
- Avoid common mistakes like rushing drying times or using low-quality products.
Understanding the Benefits of Upgrading Your Garage Floor
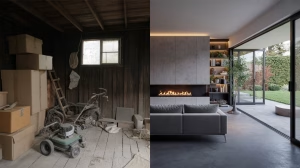
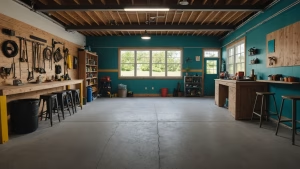
Modern homeowners increasingly recognize how transforming their concrete surfaces impacts daily life. Beyond basic protection, advanced coatings create spaces that blend practicality with style—turning overlooked areas into functional extensions of living environments.
Durability and Aesthetic Appeal
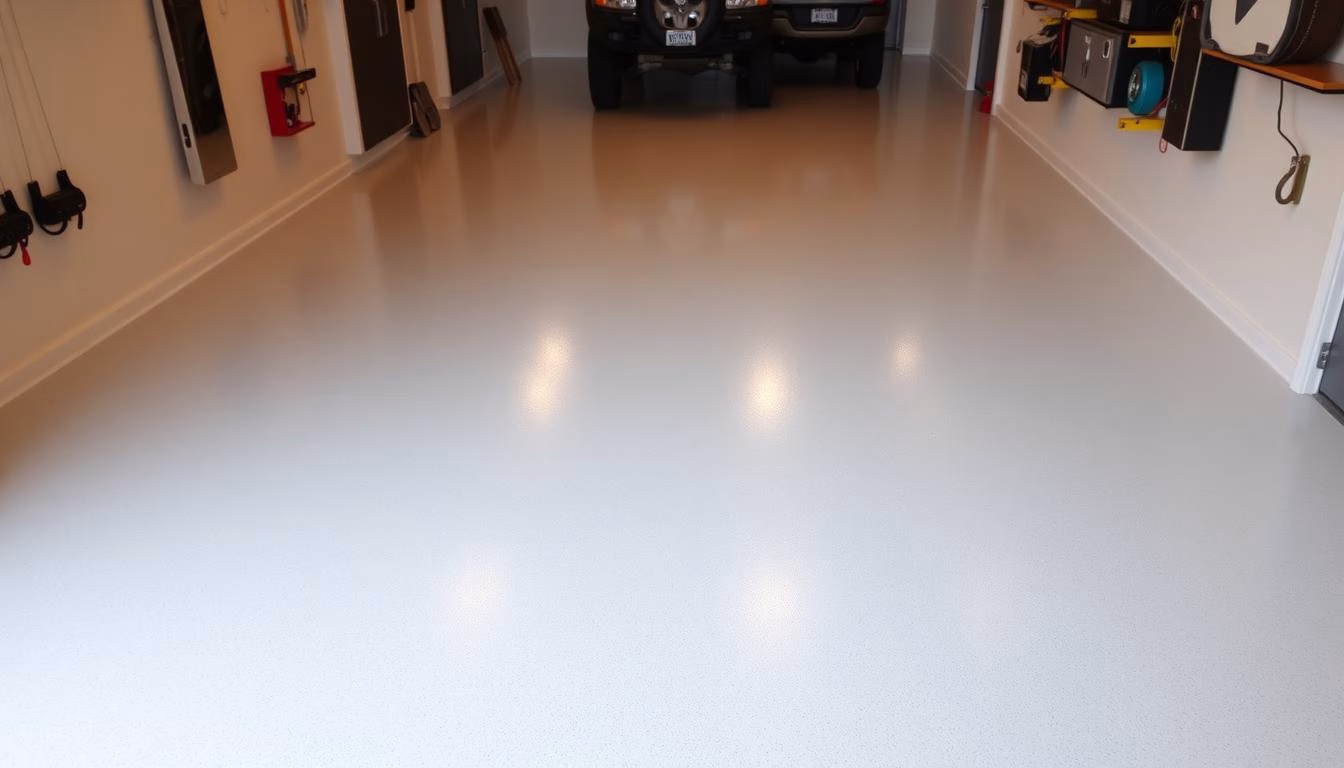
Epoxy-based systems provide unmatched resilience against spills, abrasions, and temperature shifts. Unlike raw concrete floors, these finishes repel oil stains and form water-resistant barriers.
“Properly applied coatings create surfaces where liquids bead up instead of soaking in,”
notes Xtreme Polishing Systems. Anti-slip additives further enhance safety without compromising shine.
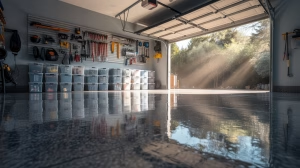
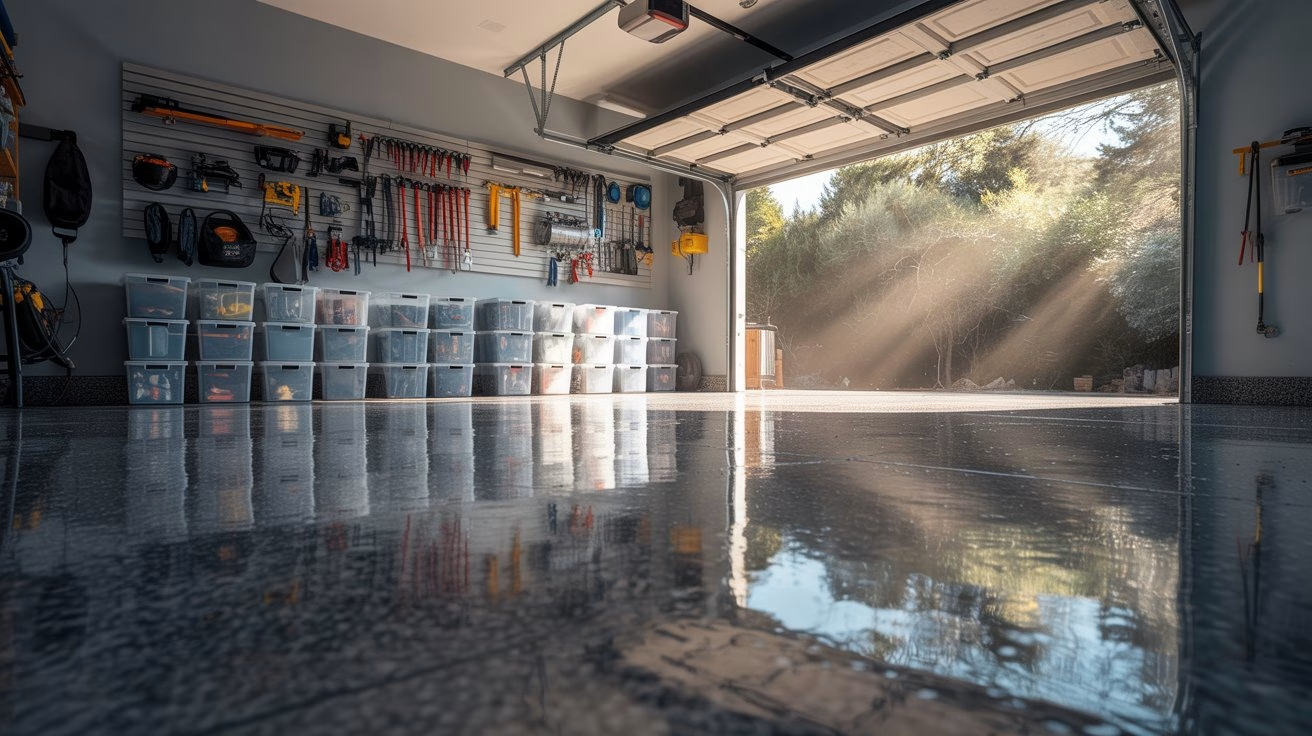
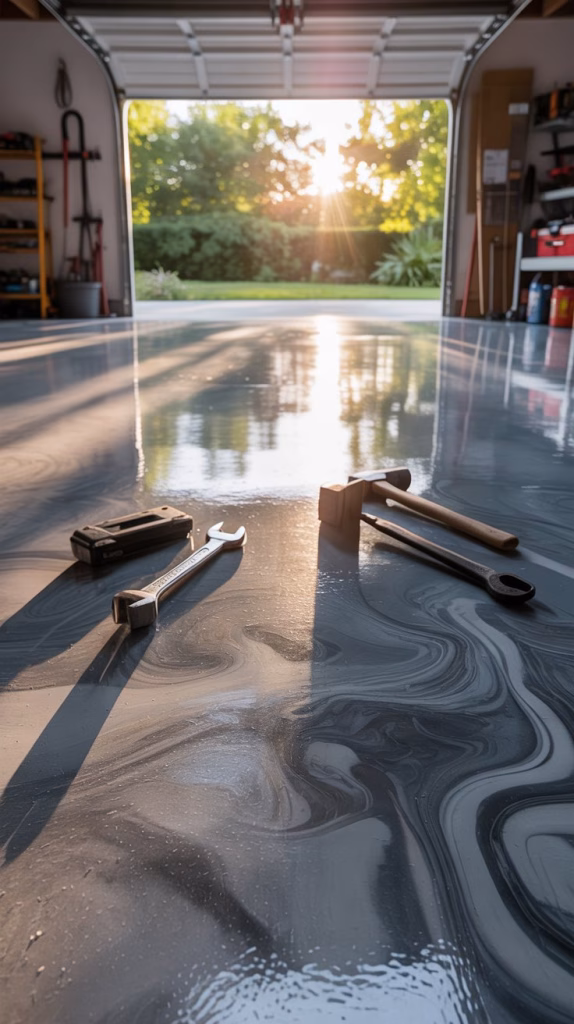
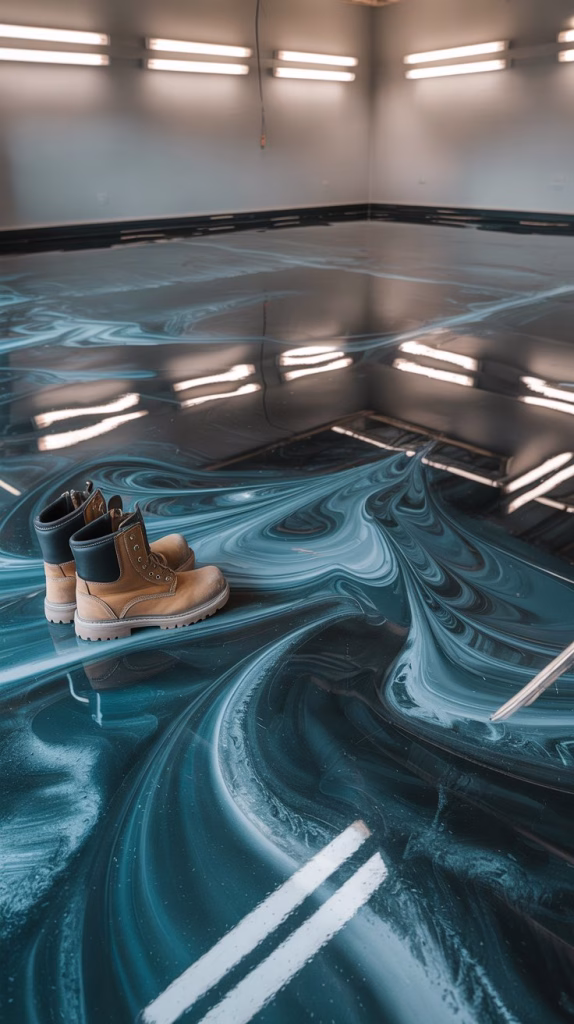
Visually, polished surfaces mimic high-end showrooms. Metallic pigments or quartz blends allow customization to match home exteriors or interior walls. The glossy finish reflects light, making cramped spaces feel brighter and larger.
Added Value and Functionality
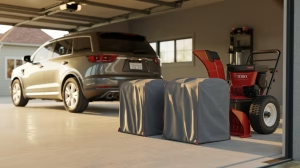
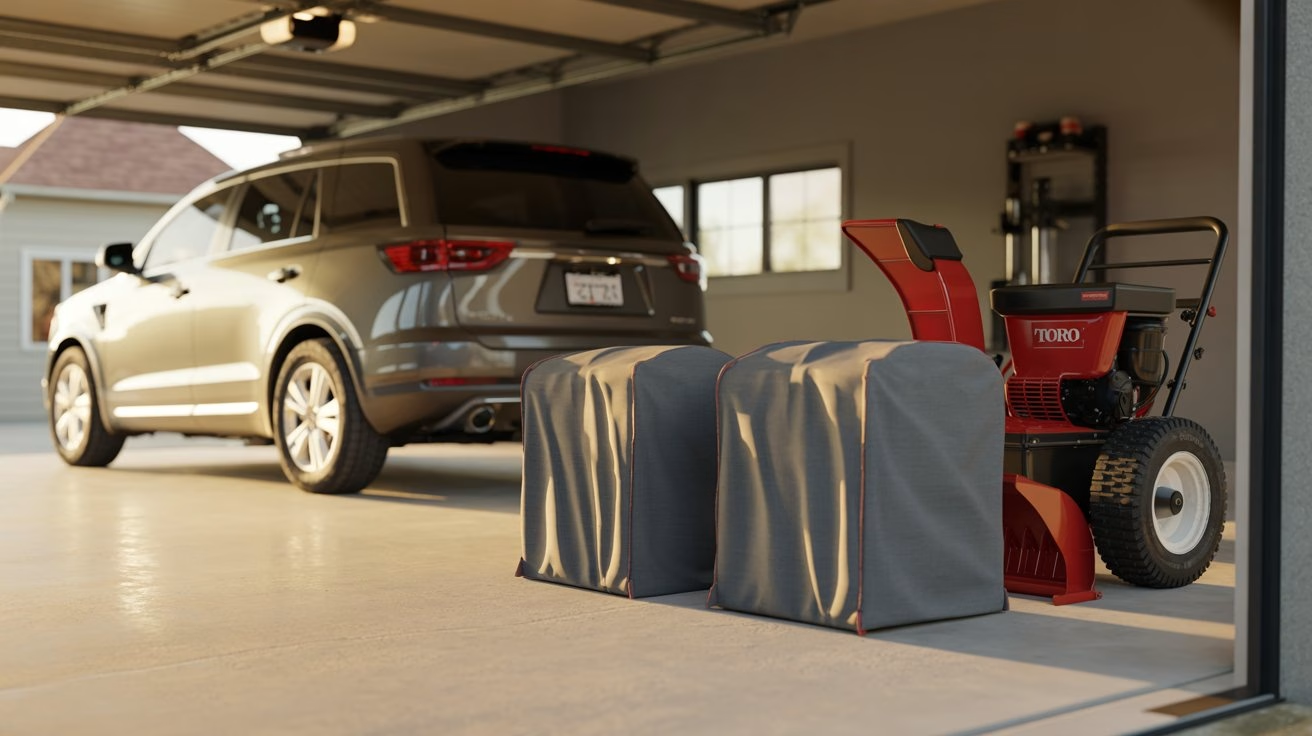
Real estate professionals report upgraded garage floors can boost property appeal by 5-7%. Buyers perceive sealed concrete floors as low-maintenance investments. Functionally, they withstand heavy tools, vehicle traffic, and seasonal moisture better than untreated slabs.
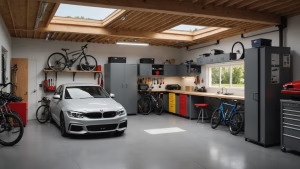
Families often repurpose these areas as hobby zones or workout spaces once the surface becomes stain-proof and easy to sweep. Epoxy garage floor installations also reduce dust accumulation—a key advantage for allergy sufferers.
Essential Preparation and Cleaning Steps
Proper groundwork lays the foundation for a flawless epoxy application. Skipping these critical stages often leads to peeling or uneven results, even with premium products. Every successful installation depends on removing contaminants and creating an ideal bonding surface.
Scraping, Degreasing, and Etching the Concrete
Begin by scraping away old paint or adhesive using a putty knife. Oil stains require special attention—apply a biodegradable degreaser and scrub with a stiff-bristled broom. Let the solution sit for 10 minutes before rinsing thoroughly.
Next, mix an acid-based etching product according to manufacturer instructions. This opens microscopic pores in the concrete, ensuring epoxy adheres properly. Always wear protective gloves and goggles during this phase.
Rinse the area with a high-pressure hose until the water runs clear. Allow 24-48 hours for complete drying—moisture trapped beneath coatings causes bubbling.
Gathering the Right Tools and Materials
Assemble these essentials before starting:
- Heavy-duty scraper and wire brush
- Acid-resistant sprayer or painter’s tools
- pH-neutral cleaner for final rinse
- Industrial-grade squeegee and paintbrush
Experts at Sherwin-Williams emphasize:
“Rushing preparation wastes materials and effort. Invest time here to avoid costly reworks later.”
Selecting the Right Epoxy Coating and Concrete Finishing Techniques
Quality materials make or break your surface upgrade. Commercial-grade epoxy coatings outperform budget options through chemical resistance and adhesion strength. Sherwin-Williams Armorseal 1000 exemplifies this category, offering 3x thicker film build than standard paint products.
Choosing High-Quality Epoxy Products
Opt for two-part systems with precise resin-to-hardener ratios. Pre-measured kits simplify mixing while ensuring proper curing. Avoid single-component products—they lack the durability needed for vehicle traffic or heavy equipment.
Top-tier floor coating solutions contain:
- Solvent-free formulas for low odor
- UV stabilizers against yellowing
- Anti-slip aggregates in clear coats
Understanding the Coating Process and Timing
Mix components slowly for 3 minutes using a drill paddle. Sherwin-Williams technicians advise:
“Stirring too fast creates air bubbles that weaken the finish.”
Work in 4×4-foot sections, applying theepoxywith a 3/8-inch nap roller.
Temperature impacts the process significantly. Ideal conditions range from 60-80°F with 50% humidity. Below 55°F, curing slows dramatically—use infrared heaters if necessary.
Allow 12-16 hours between coats for proper hardening. Test readiness by pressing tape onto the surface—if no residue transfers, it’s time for the next layer. This methodical approach prevents premature wear and maintains gloss retention.
tips to do the garage floor: Step-by-Step Application Guide
Achieving a smooth, professional-looking finish starts with precise application techniques. Let’s walk through the diy process to ensure your project stays on track and delivers lasting results.

- Prepare the Perimeter
Use painter’s tape to mask baseboards and walls. Cover adjacent surfaces with plastic sheeting to shield them from accidental drips. This creates clean edges and simplifies cleanup. - Mix Components Thoroughly
Combine the epoxy resin and hardener as directed. Stir slowly for 3-4 minutes using a drill paddle. As Rust-Oleum advises:“Proper mixing eliminates streaks and ensures consistent curing.”
- Apply Epoxy in Manageable Sections
Work in 4×4-foot areas using a 3/8-inch nap roller. Pour the mixture onto the surface and spread it evenly with a squeegee. Immediately back-roll with the roller to eliminate lines and air pockets. - Broadcast Decorative Chips
While the coating is wet, sprinkle color flakes from waist height for even distribution. Adjust density based on your design—light scattering creates subtle accents, while heavy coverage offers full texture. - Monitor Drying Conditions
Maintain temperatures above 60°F during curing. Use fans to circulate air if humidity exceeds 50%. Avoid walking on the surface for at least 12 hours.
Always follow the manufacturer’s guidelines for drying times between coats. Rushing this step risks uneven texture or adhesion issues. With patience and attention to detail, your diy project will rival professional installations.
Incorporating Color Flakes and Decorative Detailing
Personalizing your space becomes an art form when decorative elements enter the equation. Creative touches transform functional surfaces into eye-catching features that reflect individual style.
Broadcasting Color Chips for Even Coverage
Decorative flakes serve dual purposes—they mask minor cracks while adding vibrant character. As DIY Network experts suggest:
“Toss chips upward like confetti to let gravity distribute them naturally.”
This method prevents clumping and creates organic patterns.
Start by scattering chips along the perimeter first. Work inward in sweeping arcs, maintaining consistent arm height. Lighter throws create subtle accents, while vigorous motions produce bold clusters. Keep a steady rhythm to avoid over-saturating any single area.
Edges demand special attention. Use a handheld scoop to place color particles precisely where epoxy meets walls. This ensures clean transitions without bare spots. Wipe excess material immediately using a plastic trowel.
Wear spiked shoe covers when walking on wet coatings. These prevent footprints while letting you adjust chips for balanced coverage. Allow 6-8 hours before applying protective topcoats.
Experiment with complementary hues or metallic blends for dynamic effects. A mix of small and large chips adds depth, turning utilitarian surfaces into conversation starters. With practice, this technique yields showroom-quality results every time.
Applying Clear Coats & Exterior Paint Sheens for Protection

The final defense against daily wear comes from strategic protective layers. Clear polyurethane coats lock in decorative elements while creating an impenetrable barrier against scuffs and chemical spills. Pairing these with exterior-grade paint sheens ensures surfaces withstand years of heavy use without yellowing or chipping.
Selecting the Appropriate Sheen for Durability
Exterior paint finishes vary in resilience. Sherwin-Williams research shows:
“Semi-gloss and hi-gloss options outperform flat finishes by 300% in scratch resistance tests.”
| Sheen | Durability | Best Use |
|---|---|---|
| Flat | Low | Low-traffic walls |
| Satin | Moderate | Residential floors |
| Semi-Gloss | High | Garage surfaces |
| Hi-Gloss | Maximum | Commercial spaces |
Apply two thin coats of semi-gloss for optimal balance between shine and practicality. Allow 6 hours drying time between layers.
Additional Protective Measures and Finishing Touches
Secure edges with painter tape before application. This prevents seepage onto adjacent walls and ensures crisp lines. Use the “sure roll” method—maintain even pressure while rolling in overlapping W patterns. This technique eliminates streaks and air pockets.
Enhance longevity with these steps:
- Mix anti-slip additives into the final coat
- Inspect for missed spots using angled lighting
- Apply UV-resistant topcoats for sun-exposed areas
Remove painter tape immediately after finishing while materials remain pliable. These measures preserve both aesthetics and structural integrity for over a decade.
Post-Application Care and Maintenance Tips
Proper care after completing your project ensures lasting results and preserves the surface’s integrity. Following manufacturer guidelines during the curing phase prevents common issues like peeling or discoloration. Let’s explore strategies to maintain that showroom-quality finish for years.
Establishing Proper Drying Times and Foot Traffic Guidelines
Epoxy requires 24-72 hours to fully cure before light foot traffic. Heavy items like vehicles need 7 days minimum. As Rust-Oleum technicians warn:
“Premature use creates dents and compromises adhesion.”
Monitor room temperature closely—ideal conditions accelerate hardening. Use infrared thermometers to verify surfaces stay above 60°F. Avoid placing rugs or mats during the first week, as trapped moisture slows curing.
Long-Term Upkeep and Cleaning Strategies
Clean spills immediately with pH-neutral cleaners and microfiber cloths. Avoid abrasive scrubbers—soft-bristle brooms remove debris without scratching. For stubborn stains, mix 1 cup vinegar with 2 gallons water and mop gently.
Reapply protective topcoats every 3-5 years in high-traffic zones. Use a short-nap roller for seamless touch-ups, blending edges with existing epoxy. Always let each application dry 12 hours before reuse.
Inspect quarterly for hairline cracks or lifting edges. Address minor flaws within 48 hours using repair kits. Consistent care keeps your investment looking pristine while preventing costly overhauls.
Conclusion
A successful epoxy coating project transforms functional spaces into durable, eye-catching surfaces. By following methodical preparation and precise application steps, even first-time DIYers achieve professional-grade results. Proper cleaning, crack repairs, and concrete etching create the foundation for coatings that withstand decades of use.
Critical phases like mixing two-part epoxy, using a nap roller for even spread, and adding decorative chips demand attention to detail. Protective clear coats lock in color while resisting stains and abrasions. Allow recommended drying hours between layers—rushing this phase risks adhesion failures.
Long-term success hinges on routine maintenance. Wipe spills promptly and reapply topcoats every few years. Quality materials paired with careful execution yield surfaces that balance aesthetic appeal with industrial-strength performance.
Every step in this process contributes to lasting transformation. From initial degreasing to final protective layers, your efforts create spaces that enhance property value while serving daily needs. With the right approach, that weathered concrete slab becomes a showpiece worthy of pride.