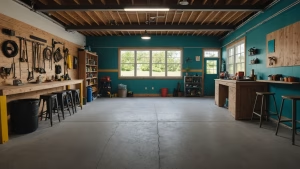
Converting a garage opening into a new exterior wall can reclaim heated space and boost curb appeal in many U.S. homes.
This introduction outlines the main stages you’ll face: safe removal of the existing garage door, temporary bracing, framing and sheathing, weatherproofing, and final exterior and interior finishes.
Plan ahead by checking structural framing, inspecting wood for rot, and locating any hidden utilities. Simple tools and materials include framing lumber, OSB, house wrap, insulation, drywall, and fasteners.
Safety matters. Lock out the torsion spring system, wear eye and hand protection, and brace the opening during demolition.
Expect a timeline that ranges from a few days for basic work up to several weekends or even years for phased upgrades. Know when to call a licensed contractor or structural engineer if questions about permits or load paths arise.
Plan the project the right way today: safety, structure, and permits
A solid plan—covering safety, framing, and permits—keeps the project on track and legal.
Confirm permit needs with your local building department before you remove the garage door. Structural changes, a new exterior door, electrical reroutes, and energy upgrades often need approval and inspections.
Evaluate support above the opening and decide if a new header is required. Inspect wood near the threshold and jambs for rot; repair any soft or discolored members before framing.
Map utilities along each side so you can relocate lines safely and avoid delays. Plan the wall assembly with studs 16″ on center, OSB sheathing, continuous house wrap, and siding that matches existing walls.
Set a budget listing lumber, fasteners, sheathing, wrap, flashing, trim, insulation, drywall, paint, and siding with a contingency for hidden things that may add months or years to phased work.
Schedule logical phases—demo, repairs, framing, sheathing, weather barrier, siding—pick a dry stretch, and prepare a safety checklist for torsion springs, PPE, and lifting methods.
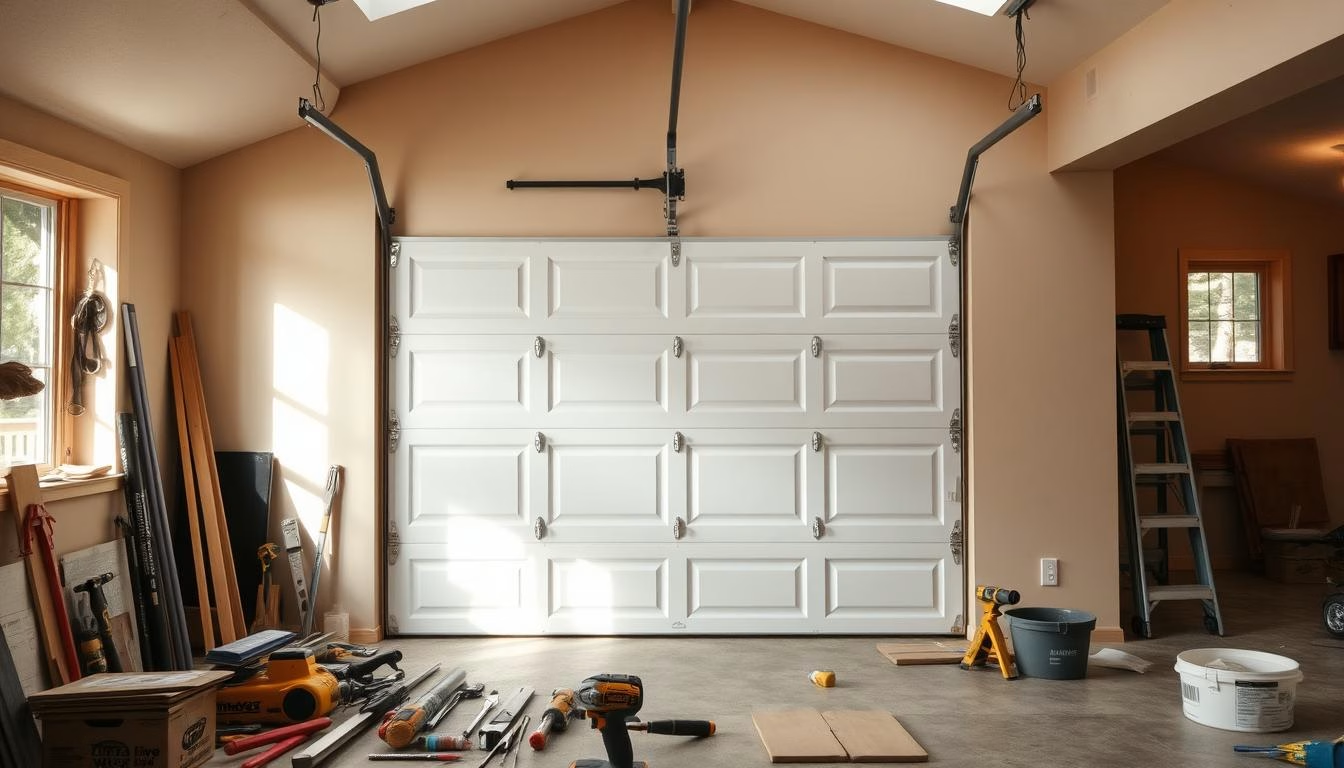
How to turn your garage door into a wall: step-by-step
Begin with a tidy demo: lock out the torsion system, disconnect opener hardware, then remove panels and tracks. Pull back a bit of siding on each side so new sheathing and house wrap tie in cleanly.
Inspect the threshold and lower sheathing. Replace any rotten wood at the base so the new wall bears on sound material and resists moisture. That step protects the space and prevents future issues.
Lay out framing lines and install a treated bottom plate where it meets concrete. Add a continuous top member across the opening, then set king and jack studs for any new exterior door. Use 2x4s and place studs every 16″ on center for straight, strong framing.

Sheath with OSB, stagger joints, and fasten per specs. Cover the sheathing with a continuous house wrap like Tyvek, shingle-lap seams, and tape per instructions. Flash sills and jambs, add J trim where siding meets new work, and seal transitions with exterior-grade silicone.
Install the new door plumb and level, shim evenly, fasten through the jamb, then add a keyed knob and weatherstripping. Finish siding so the new wall blends with existing walls and the result looks intentional, not like an afterthought.
Finish the new wall and solve common issues
Wrap the new opening with proper layers and trim so leaks and drafts are not an ongoing problem.
If prior siding lacked house wrap, hidden water damage can rot OSB and framing. Replace any compromised wood before closing the cavity, sheath with OSB, and install continuous house wrap for long-term moisture defense.

Flash head and sill carefully and use J trim at the side edges. Seal trim joints with quality silicone but avoid blocking weep paths that let water escape.
Insulate and air-seal stud bays, foam small gaps around the exterior door, and seal penetrations so the new space feels comfortable year-round. Inside, hang drywall, tape and mud joints, prime, and paint to match adjacent walls.
Expect a bit of seasonal movement during the first months; re-caulk minor gaps and tighten fasteners. Do a final walkthrough, tune door hardware and weatherstripping, and note any questions for a pro if leaks or racking show up.
Conclusion
Good prep and steady execution give you a finished wall that performs and looks right on the house. Solid framing, careful flashing, and continuous moisture control are key steps.
Follow a clear sequence: demo, repairs, framing, sheathing, house wrap, siding, insulation, and drywall. This way each trade and material works together and problems stay minimal.
If you need an expert answer about load paths, flashing details, or permits, contact your local building department or a licensed contractor before buying materials. Budget the full amount of materials plus a contingency for hidden damage so the job finishes without shortcuts.
With planning and sensible choices, you can convert this opening into useful, comfortable space that adds value and keeps maintenance simple.