The garage is often the “junk drawer” of the home—a catch-all for half-finished DIY projects, seasonal decor, and sports equipment that hasn’t seen the light of day since 2019. As the weather warms and the days grow longer, there is no better time to reclaim this valuable real estate. A thorough spring cleaning doesn’t just make your home look better; it transforms a chaotic storage unit back into a functional workspace, a protected home for your vehicle, or even a high-end hobby shop.
Approaching a garage clean-out can feel overwhelming, but the secret lies in a systematic approach. By breaking the task down into manageable phases—from the initial “purge” to the final floor scrub—you can turn a weekend project into a long-term organizational victory. This guide provides 15 comprehensive steps to ensure no corner is left dusty and every tool finds its rightful home.
1. The Total Empty-Out
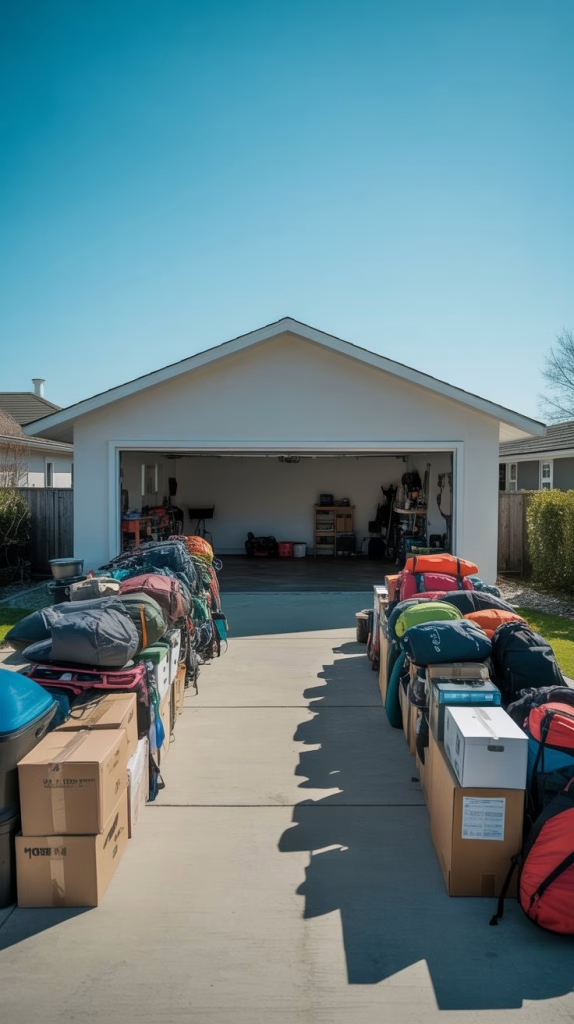
To truly clean a garage, you have to see the bones of the structure. Start by pulling everything out onto the driveway. This “blank slate” approach allows you to see exactly how much space you have to work with and prevents you from simply moving piles of clutter from one corner to another. It also exposes hidden issues like wall cracks, pest activity, or moisture spots that you might miss when the room is full.
As you move items out, begin a rough sorting process. Group similar items together—lawn care in one area, automotive tools in another. Seeing the sheer volume of your possessions in the bright light of the driveway is often the “wake-up call” needed to realize just how much unnecessary weight your home is carrying.
2. The Ruthless Sorting Phase
Once the garage is empty, it’s time to play judge and jury. Create three distinct zones: Keep, Donate/Sell, and Trash. Be honest with yourself about the “Keep” pile. If you haven’t touched an item in over two years, it’s likely taking up space that could be better used. This is the stage where you eliminate the broken lawn chairs and the dried-up paint cans that have been sitting since the house was built.
For the items you are parting with, consider the environment. Properly dispose of hazardous materials like old motor oil or pesticides at a local collection center. For items in good condition, a garage sale or a trip to a local charity can give your old gear a second life. Reducing the volume of “stuff” is 80% of the battle in any organizational project.

3. High-Level Dusting and Cobweb Removal
Garages are notorious for collecting “skyline” clutter. Before you touch the floor, look up. Use a long-handled broom or a shop vacuum to clear away cobwebs from the rafters, corners, and light fixtures. Dust naturally settles downward, so starting at the ceiling ensures that you aren’t getting dirt on surfaces you’ve already cleaned.
Pay special attention to the garage door tracks and the top of the garage door motor. These areas often harbor thick layers of grime that can eventually interfere with the mechanical operation of the door. Wiping down the rafters not only improves air quality but also makes the entire space feel significantly brighter and less like a basement.

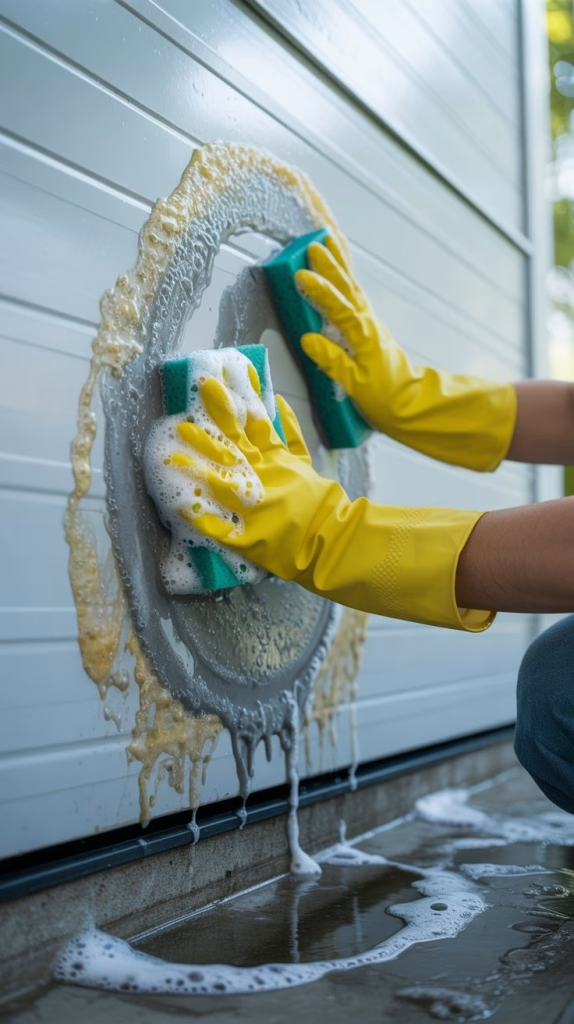
4. Deep Cleaning the Walls
Garage walls are often unfinished or painted with cheap builder-grade matte paint, making them magnets for scuffs and grease. Mix a bucket of warm water with a heavy-duty degreaser or dish soap. Use a large sponge or a soft-bristle brush to scrub away oil splatters, mud, and mysterious stains. If your walls are unfinished drywall, use a vacuum with a brush attachment to avoid damaging the paper with excess water.
Cleaning the walls is also a safety check. Look for signs of mold or water intrusion, especially near the baseboards. If you find damp spots, this is the time to investigate your gutters or exterior drainage. A clean, dry wall is the foundation for any future shelving or slatwall installations you might be planning.
5. Servicing the Garage Door
The garage door is the largest moving part of your home, yet it’s frequently ignored. During your spring clean, wipe down the interior and exterior panels with a mild detergent. Inspect the rollers and hinges for wear and tear. If they look dry or squeak, apply a high-quality lithium-based grease or a specialized garage door lubricant to the moving parts.
Don’t forget the “eye” sensors at the bottom of the tracks. Wipe the lenses with a microfiber cloth to ensure they can “see” each other clearly, preventing frustrating door reversals. Testing the auto-reverse safety feature by placing a 2×4 piece of wood in the door’s path is a vital safety step that should be performed every spring.

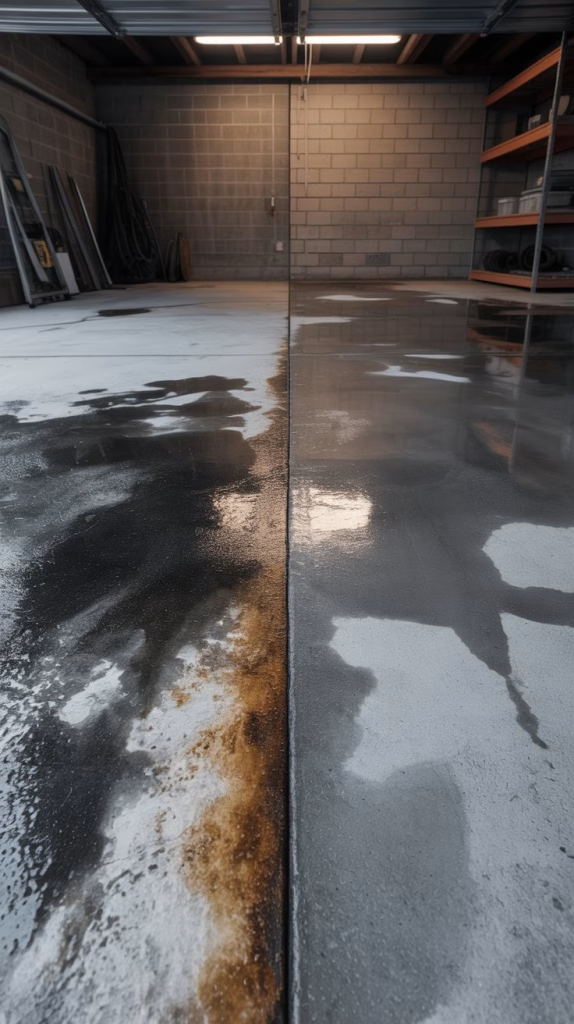
6. Eliminating Floor Stains
Garage floors take a beating from salt, oil, and tire marks. Start by sweeping the entire surface to remove loose grit. For stubborn oil spots, apply a liberal amount of cat litter or sawdust to soak up fresh spills. For older, set-in stains, use a specialized concrete degreaser and a stiff deck brush. Scrub vigorously and let the solution sit for the recommended time before rinsing.
If you have road salt buildup from the winter, a mixture of vinegar and water can help dissolve the white calcium deposits. Cleaning the floor isn’t just about aesthetics; oil and grease can be slippery hazards, and salt can prematurely erode your concrete. A clean floor also makes it much easier to spot new leaks from your vehicle.
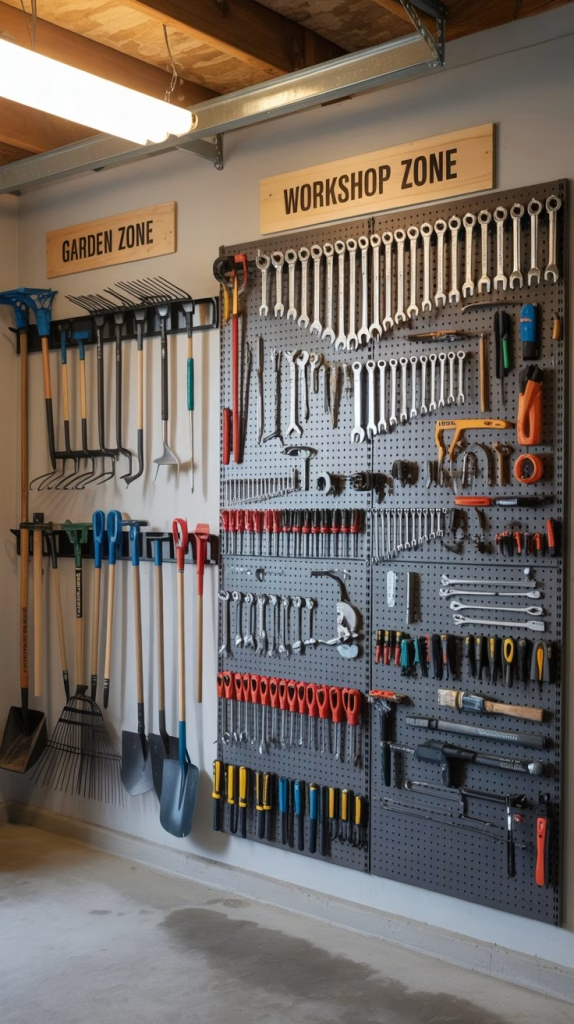
7. Organizing by “Zones”
Now that the space is clean, don’t just throw things back in. Group your belongings into functional zones: Gardening, Sports, Tools, Automotive, and Long-term Storage. By keeping all “like” items in one area, you reduce the time spent searching for a specific wrench or a bag of potting soil. It also helps you see when you are running low on a particular supply.
Consider the frequency of use when deciding where zones should live. Items you use daily (like a trash can or pet food) should be near the door to the house. Seasonal items (like holiday lights or snow shovels) can go in the “deep storage” areas, such as high shelves or the back corners. This logical flow turns your garage into a high-efficiency hub.
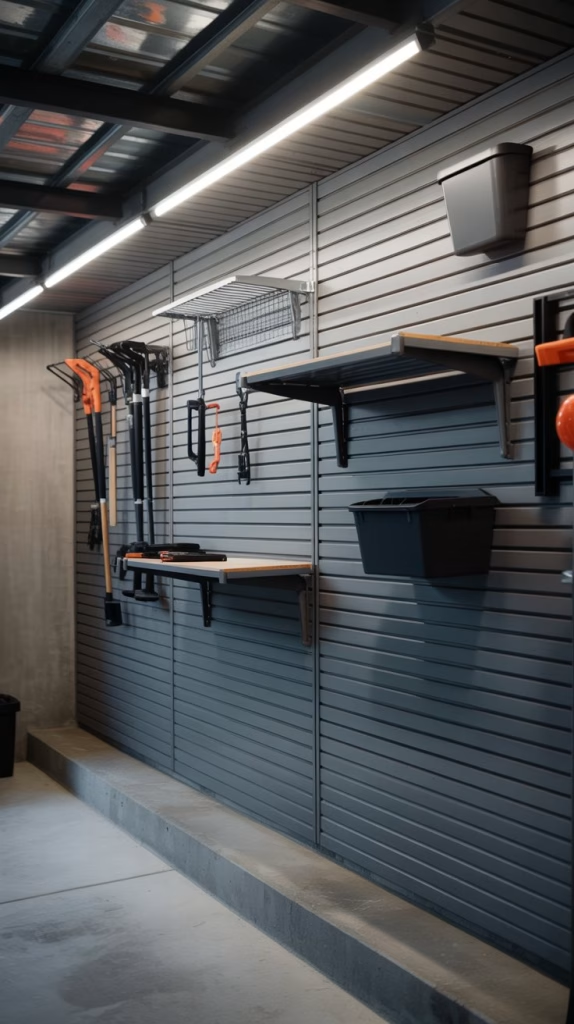
8. Utilizing Vertical Space
The floor is for cars, not boxes. To maximize your garage’s potential, look to the walls. Install heavy-duty shelving units, pegboards, or slatwall systems to get your gear off the ground. Vertical storage keeps your items visible and accessible while protecting them from potential floor-level flooding or pests.
Bicycles, ladders, and kayaks are prime candidates for wall-mounted hooks. By hanging these bulky items, you clear up valuable square footage, making the garage feel twice as large. Ensure that any wall-mounted system is anchored directly into the studs to handle the weight of heavy power tools or equipment.
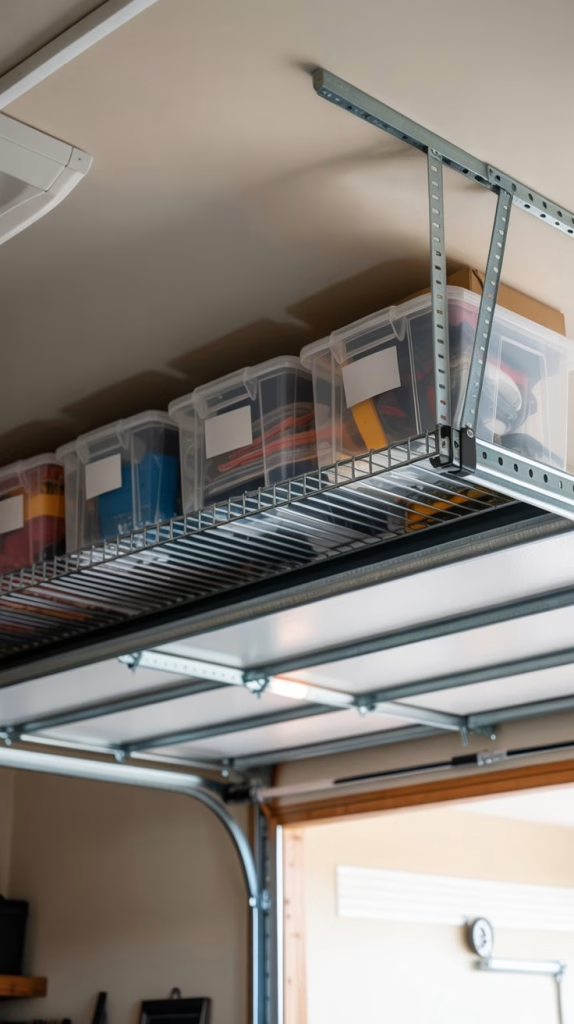
9. Overhead Storage for Seasonal Items
The space above your garage door is often “dead space” that is perfectly suited for long-term storage. Installing ceiling-mounted racks is a game-changer for items you only need once a year, such as Christmas trees, camping gear, or beach umbrellas. This keeps the most cluttered items out of your line of sight.
When using overhead storage, safety is paramount. Use clear plastic bins so you can identify the contents from below without having to climb a ladder. Label the bottom of the bins in large, bold letters. Make sure the weight limit of the racks is strictly followed to avoid putting undue stress on your ceiling joists.
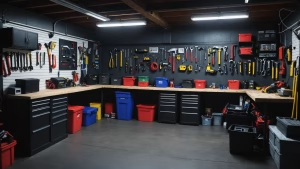
10. The Workbench Overhaul
If you have a workbench, it’s likely buried under a layer of screws, scraps, and sawdust. Clear the surface entirely and wipe it down with a damp cloth. Sort through your hardware—nails, screws, and bolts—and organize them into small transparent organizers. There is something deeply satisfying about a workbench where you can actually see the wood grain.
Evaluate your tool storage. If your most-used tools are buried in a deep chest, consider a magnetic tool strip or a pegboard right above the bench. This “point-of-use” storage ensures that when you start a project, you aren’t frustrated by a 10-minute search for a screwdriver. Replace any dull blades or worn-out sandpaper so you’re ready for the next DIY task.

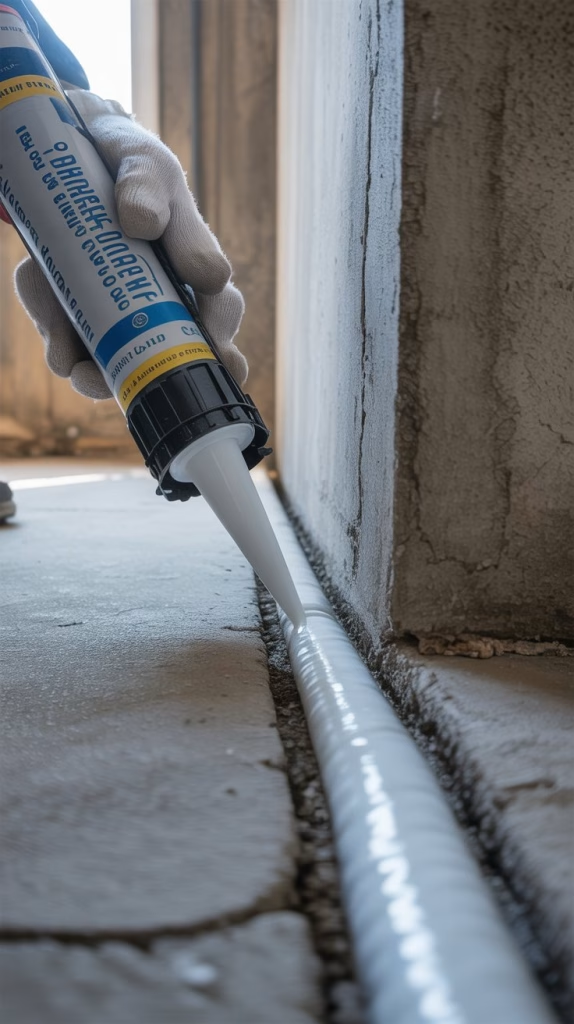
11. Pest-Proofing the Perimeter
A garage is a common entry point for rodents and insects. During your spring clean, inspect the weather stripping at the bottom of the garage door. If you can see daylight peeking through when the door is closed, it’s time for a replacement. Check the corners of the walls and the ceiling for any small gaps or cracks that might need caulking.
Eliminate “nesting” opportunities by moving cardboard boxes off the floor—rodents love to chew through cardboard. Switching to plastic lidded bins is one of the most effective ways to keep pests out of your belongings. If you store birdseed or grass seed, ensure it is kept in galvanized metal cans with tight-fitting lids.
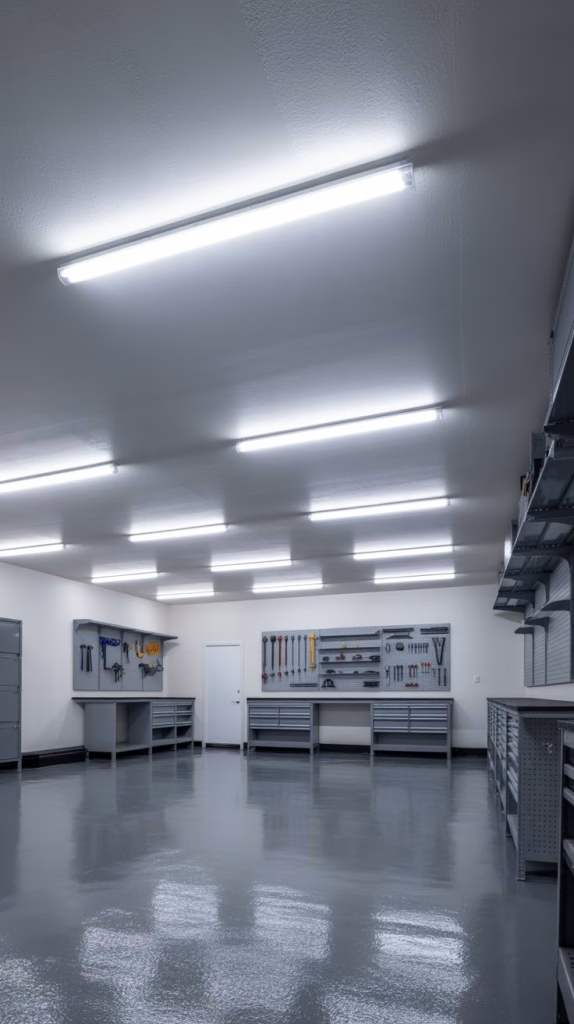
12. Refreshing the Lighting
Many garages suffer from a single, dim incandescent bulb that makes the space feel like a dungeon. Use this spring cleaning opportunity to upgrade to high-output LED shop lights. Modern LED linkable lights are easy to install and provide a “daylight” spectrum that makes it much easier to work on projects and see where you’re cleaning.
Clean the covers of your existing light fixtures. Dust and dead bugs inside the covers can significantly reduce light output. If your garage has windows, wash them inside and out. Natural light is the best way to make a utility space feel inviting, and it saves on your energy bill during the day.
13. Safety Check: Fire and Chemicals
The garage often houses the most flammable materials in the home. Check your fire extinguisher to ensure it is pressurized (the needle should be in the green zone) and that the nozzle is clear. If you don’t have a fire extinguisher in the garage, now is the time to mount one near the exit door.
Check your storage of chemicals. Ensure that gasoline, propane, and paint thinners are stored in approved containers and kept away from heat sources like water heaters or furnaces. If you have young children or pets, make sure all hazardous chemicals are stored on high shelves or in a locked cabinet. This simple step provides invaluable peace of mind.

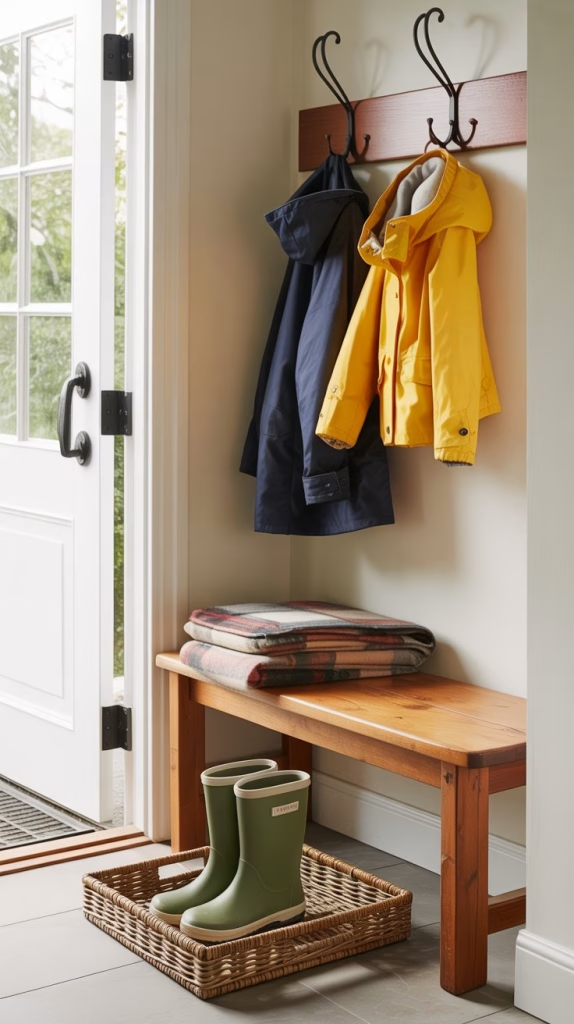
14. Creating a “Landing Strip”
The “landing strip” is the area immediately adjacent to the door leading into the house. This is a high-traffic zone that quickly becomes a graveyard for shoes, backpacks, and grocery bags. Install a small bench, a few coat hooks, and a boot tray to contain the mess before it enters your living space.
By designating this specific area for “transient” items, you prevent the rest of the garage from becoming cluttered. It acts as a buffer zone that keeps your home cleaner. A simple mat to catch dirt and a dedicated spot for keys or outgoing mail can transform your daily exit and entry routine.
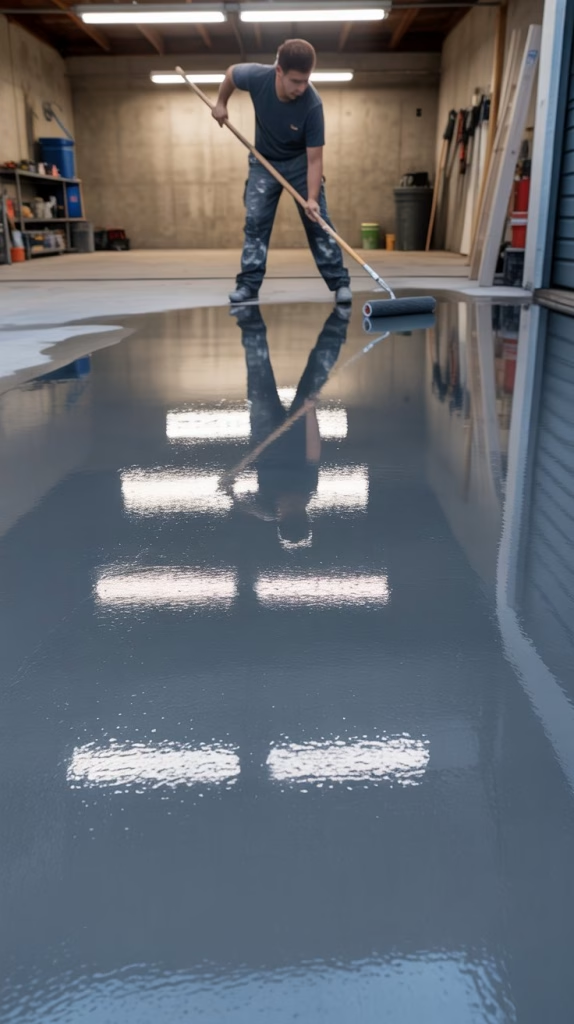
15. The Final Floor Seal (Optional)
If you really want to level up your garage, consider applying a concrete sealer or an epoxy coating once the floor is pristinely clean. An epoxy floor looks professional, is incredibly easy to sweep, and prevents oil and chemicals from soaking into the concrete in the future. It’s the “cherry on top” of a spring cleaning project.
If a full epoxy kit isn’t in the budget, a simple clear silane/siloxane sealer can protect the concrete from moisture and salt damage without changing the look. This final step ensures that your hard work during the spring clean lasts throughout the year, making next year’s cleaning much faster and easier.